Introduction
This is a guide on how to set up a local development for React and TypeScript projects. This also involves extensions and libraries that help us save time and energy when writing our code.
Prerequisites
By the way, upon writing this post, I assume that you have some web development background and basic knowledge regarding npm, yarn, HTML, CSS, JavaScript and React.
Some prerequisites below. Make sure to install them in your system if you haven't!
We'll be using Visual Studio Code as our IDE in this tutorial as we will utilize a few extensions from their marketplace. And we'll use Yarn as our package manager, it's just like npm but faster.
Initialize your project
Fastest way to get started with React is using the Create React App. It is an officially supported way to create single-page React applications. It offers a modern build setup with no configuration so you can focus on code, not build tools.
To create our project with React and TypeScript, run this command in your terminal:
yarn create react-app my-app --template typescript
Open the created project in your Visual Studio Code. Then open the terminal in Visual Studio Code. The keyboard shortcut would be Ctrl + `.
Then, let's run our project to see if everything is working fine:
yarn start
This command will open your default browser and go to http://localhost:3000/. If it doesn't, you can do it yourself too. The page should show something like this:
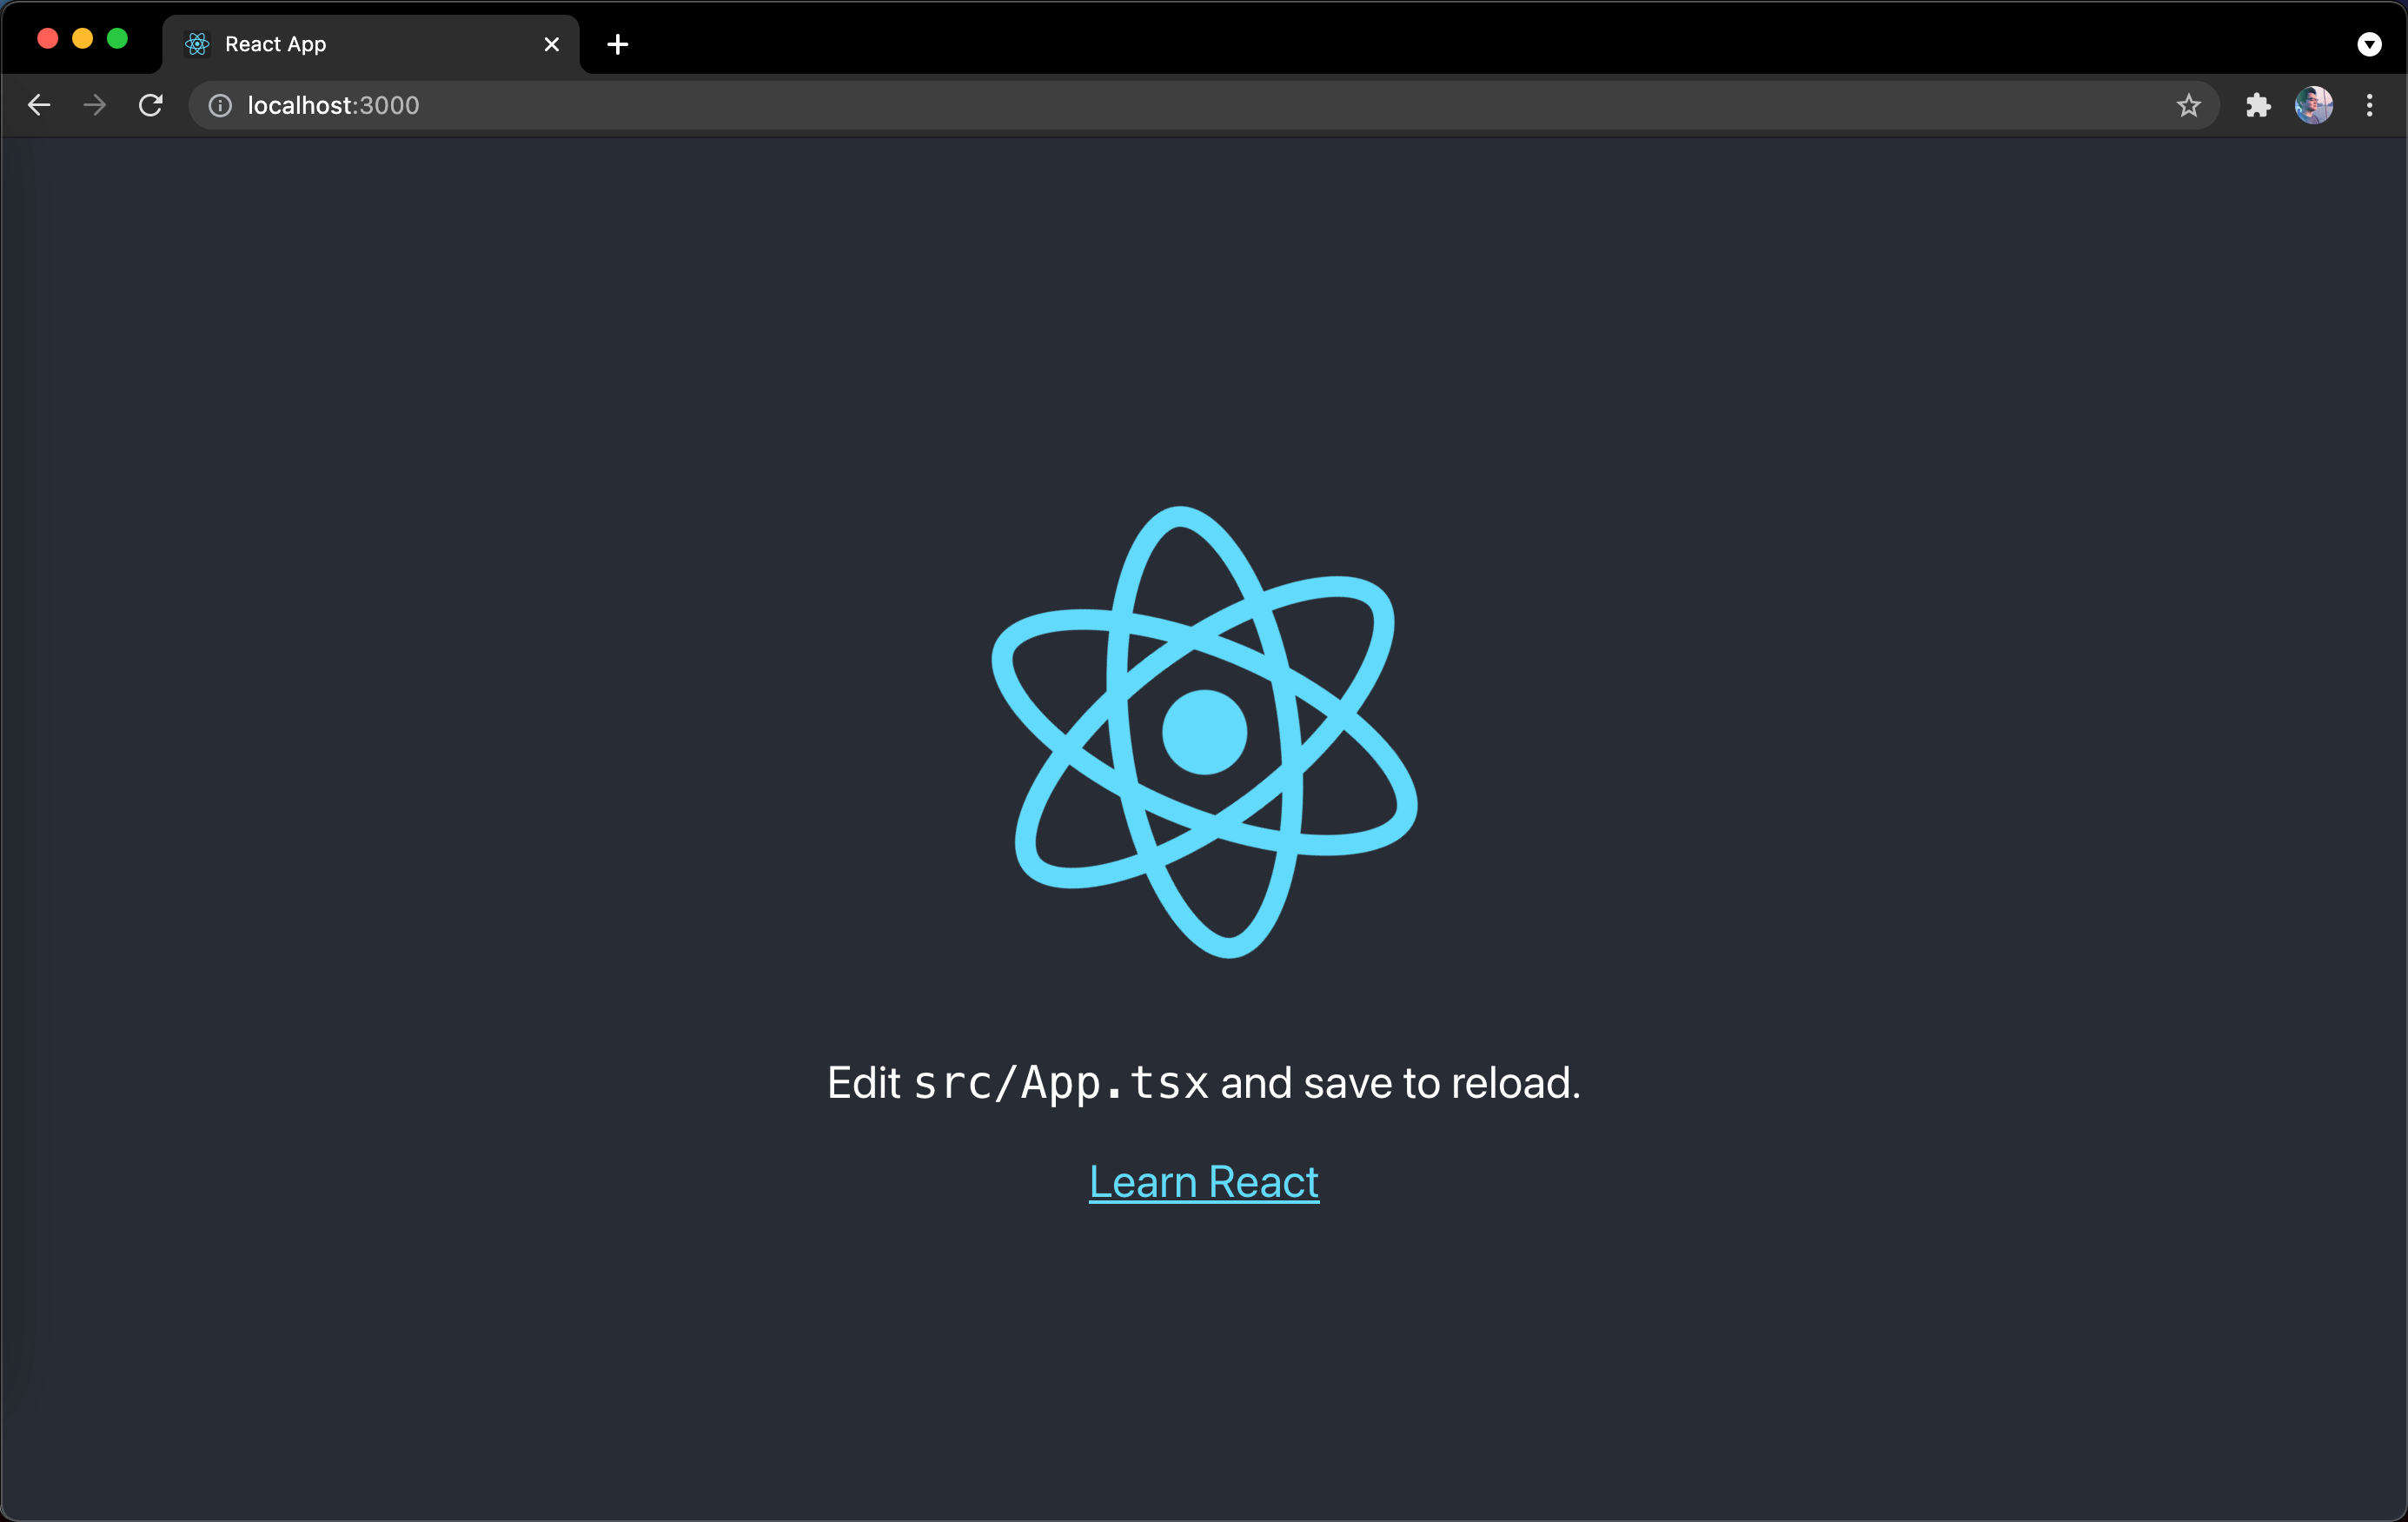
This setup comes with live-editing or hot reloading which means when we save file changes, it will automatically update the app and reload on the browser. That's great for local development!
Install ES7 React Snippets extension in Visual Studio Code
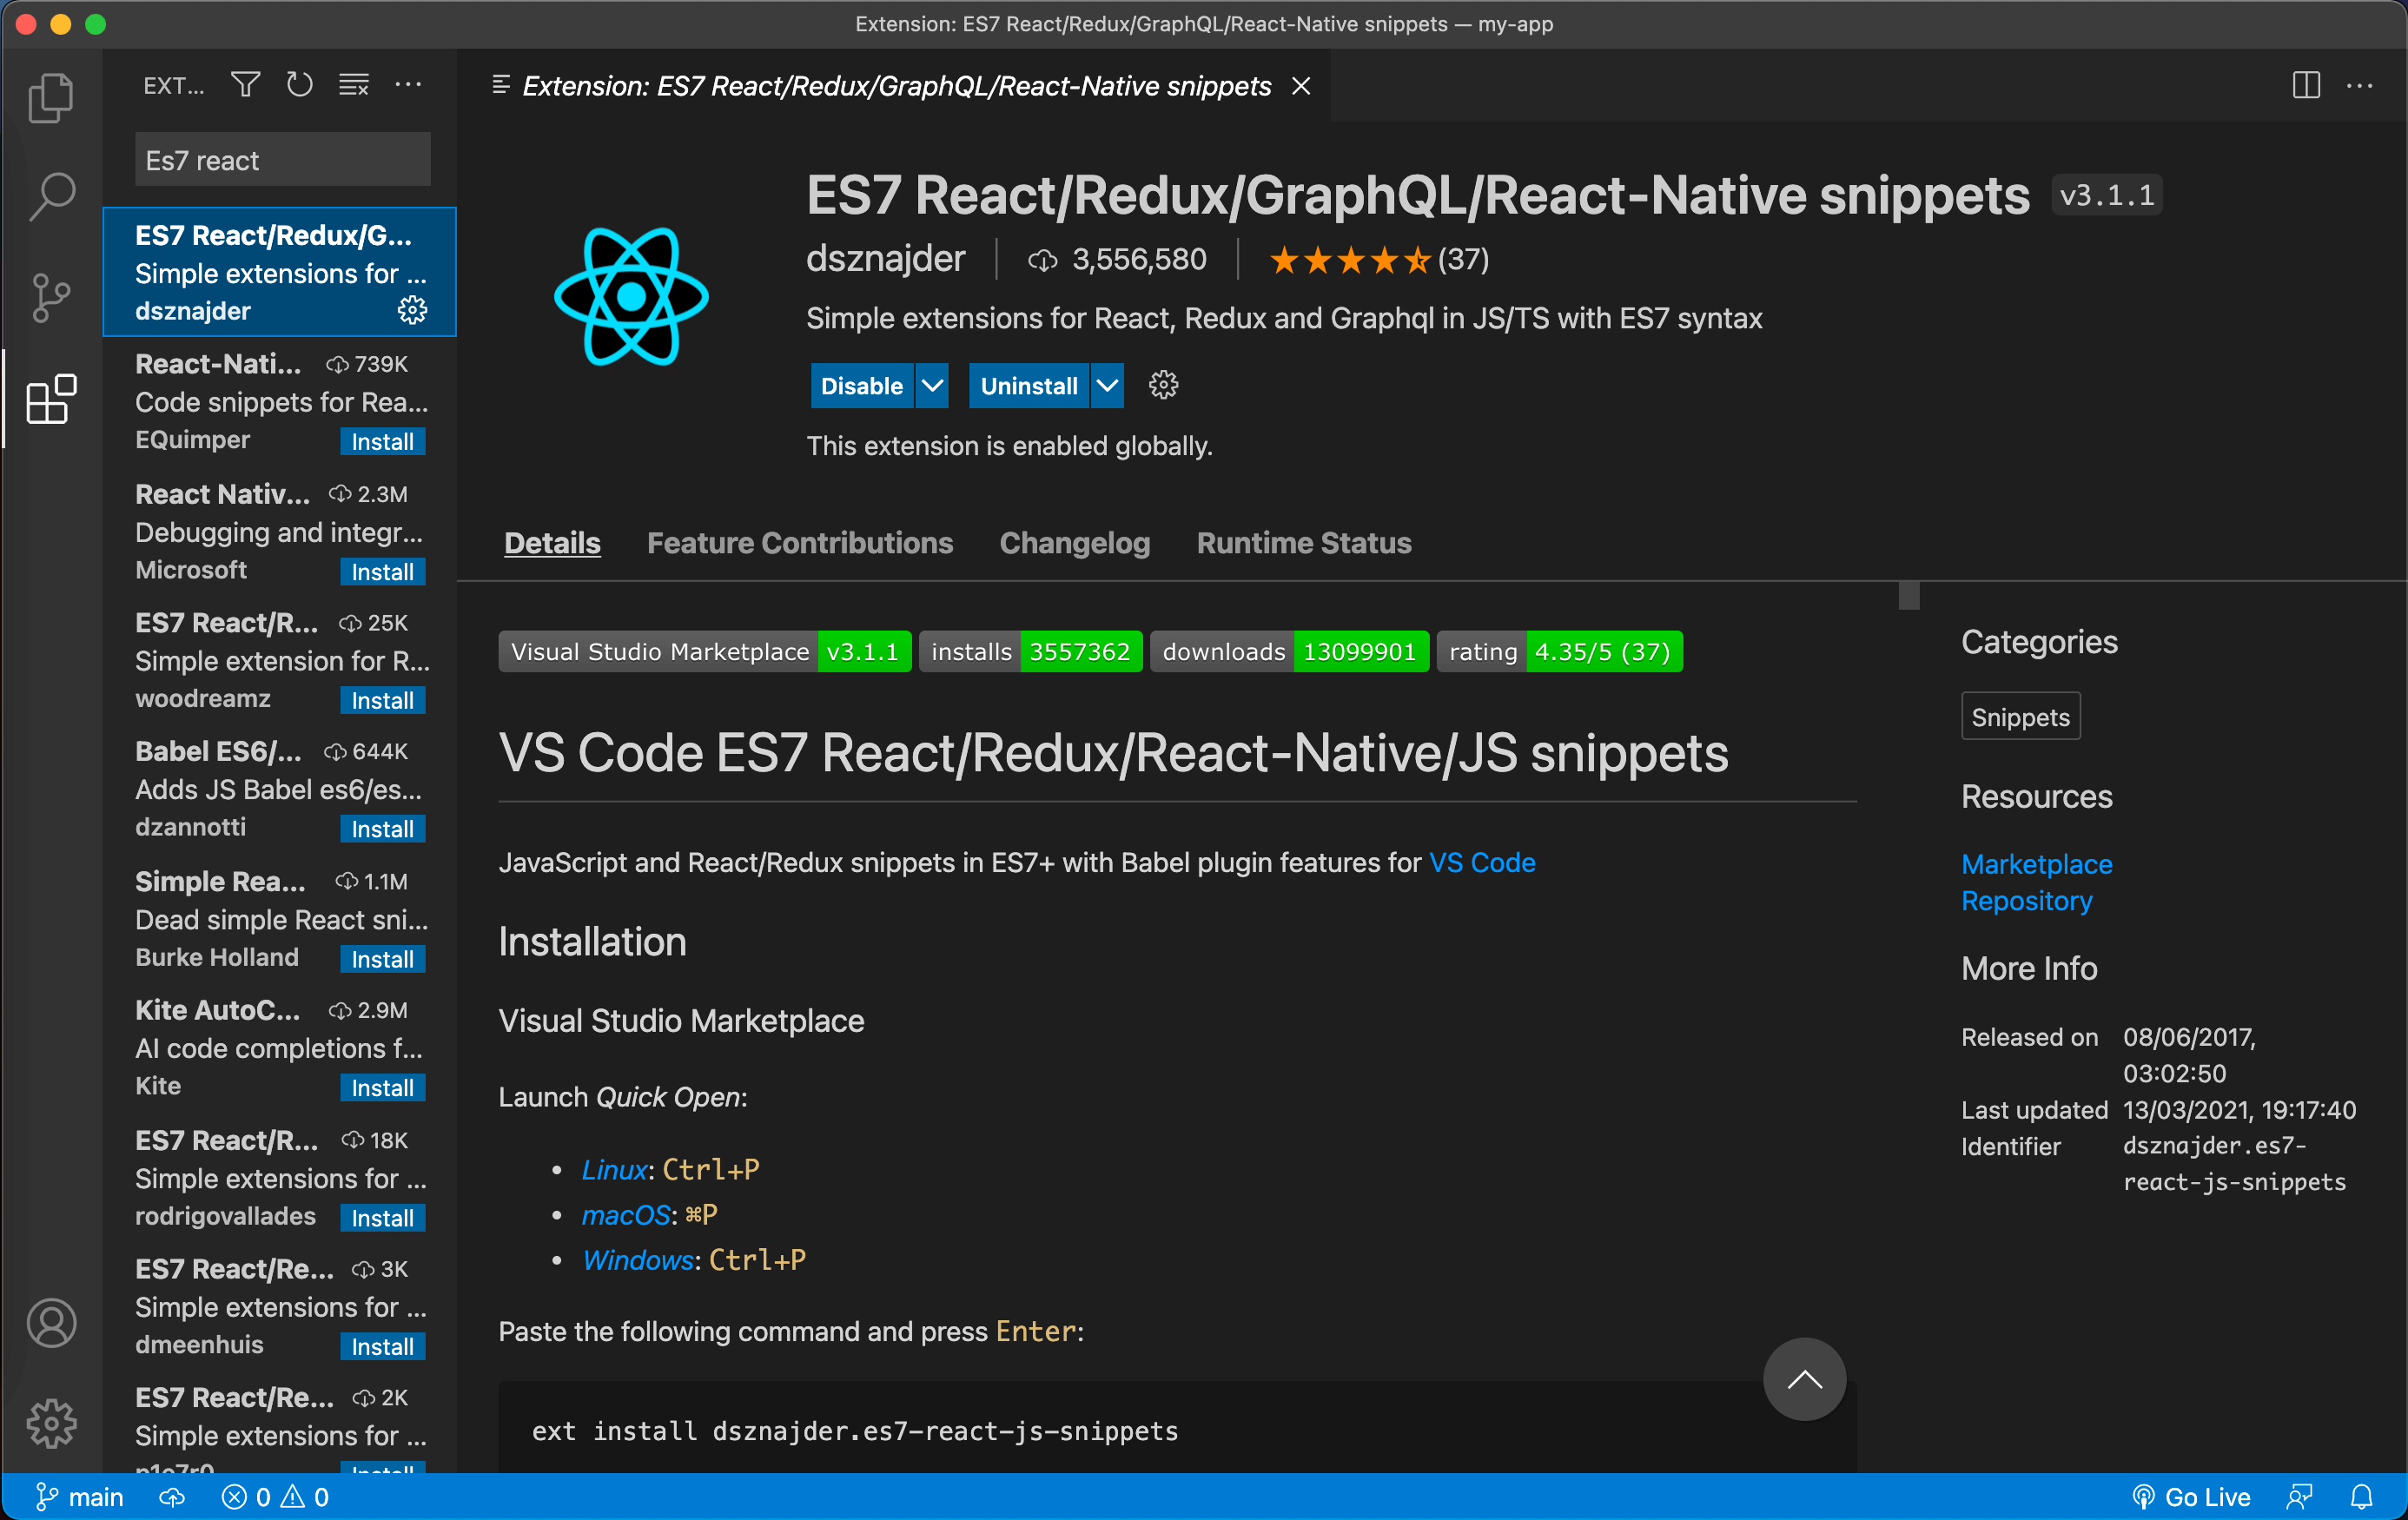
Next, let's install ES7 React Snippets. You can think of it like a shortcut that helps you create the basic structure of a component in React, for example I want to create a functional component, I have to write the code to import React first, then write the function component then lastly write the code to export it. With this extension, I can easily achieve the same by typing rfce and it will show a suggestion for reactFunctionalComponentExport and I just have to press ENTER and it will write the code for us. This saves us time and energy when writing components.
Click on the "Extensions" tab and look for "ES7 React" and install it. You can also install it via this link.
Install Prettier extension in Visual Studio Code
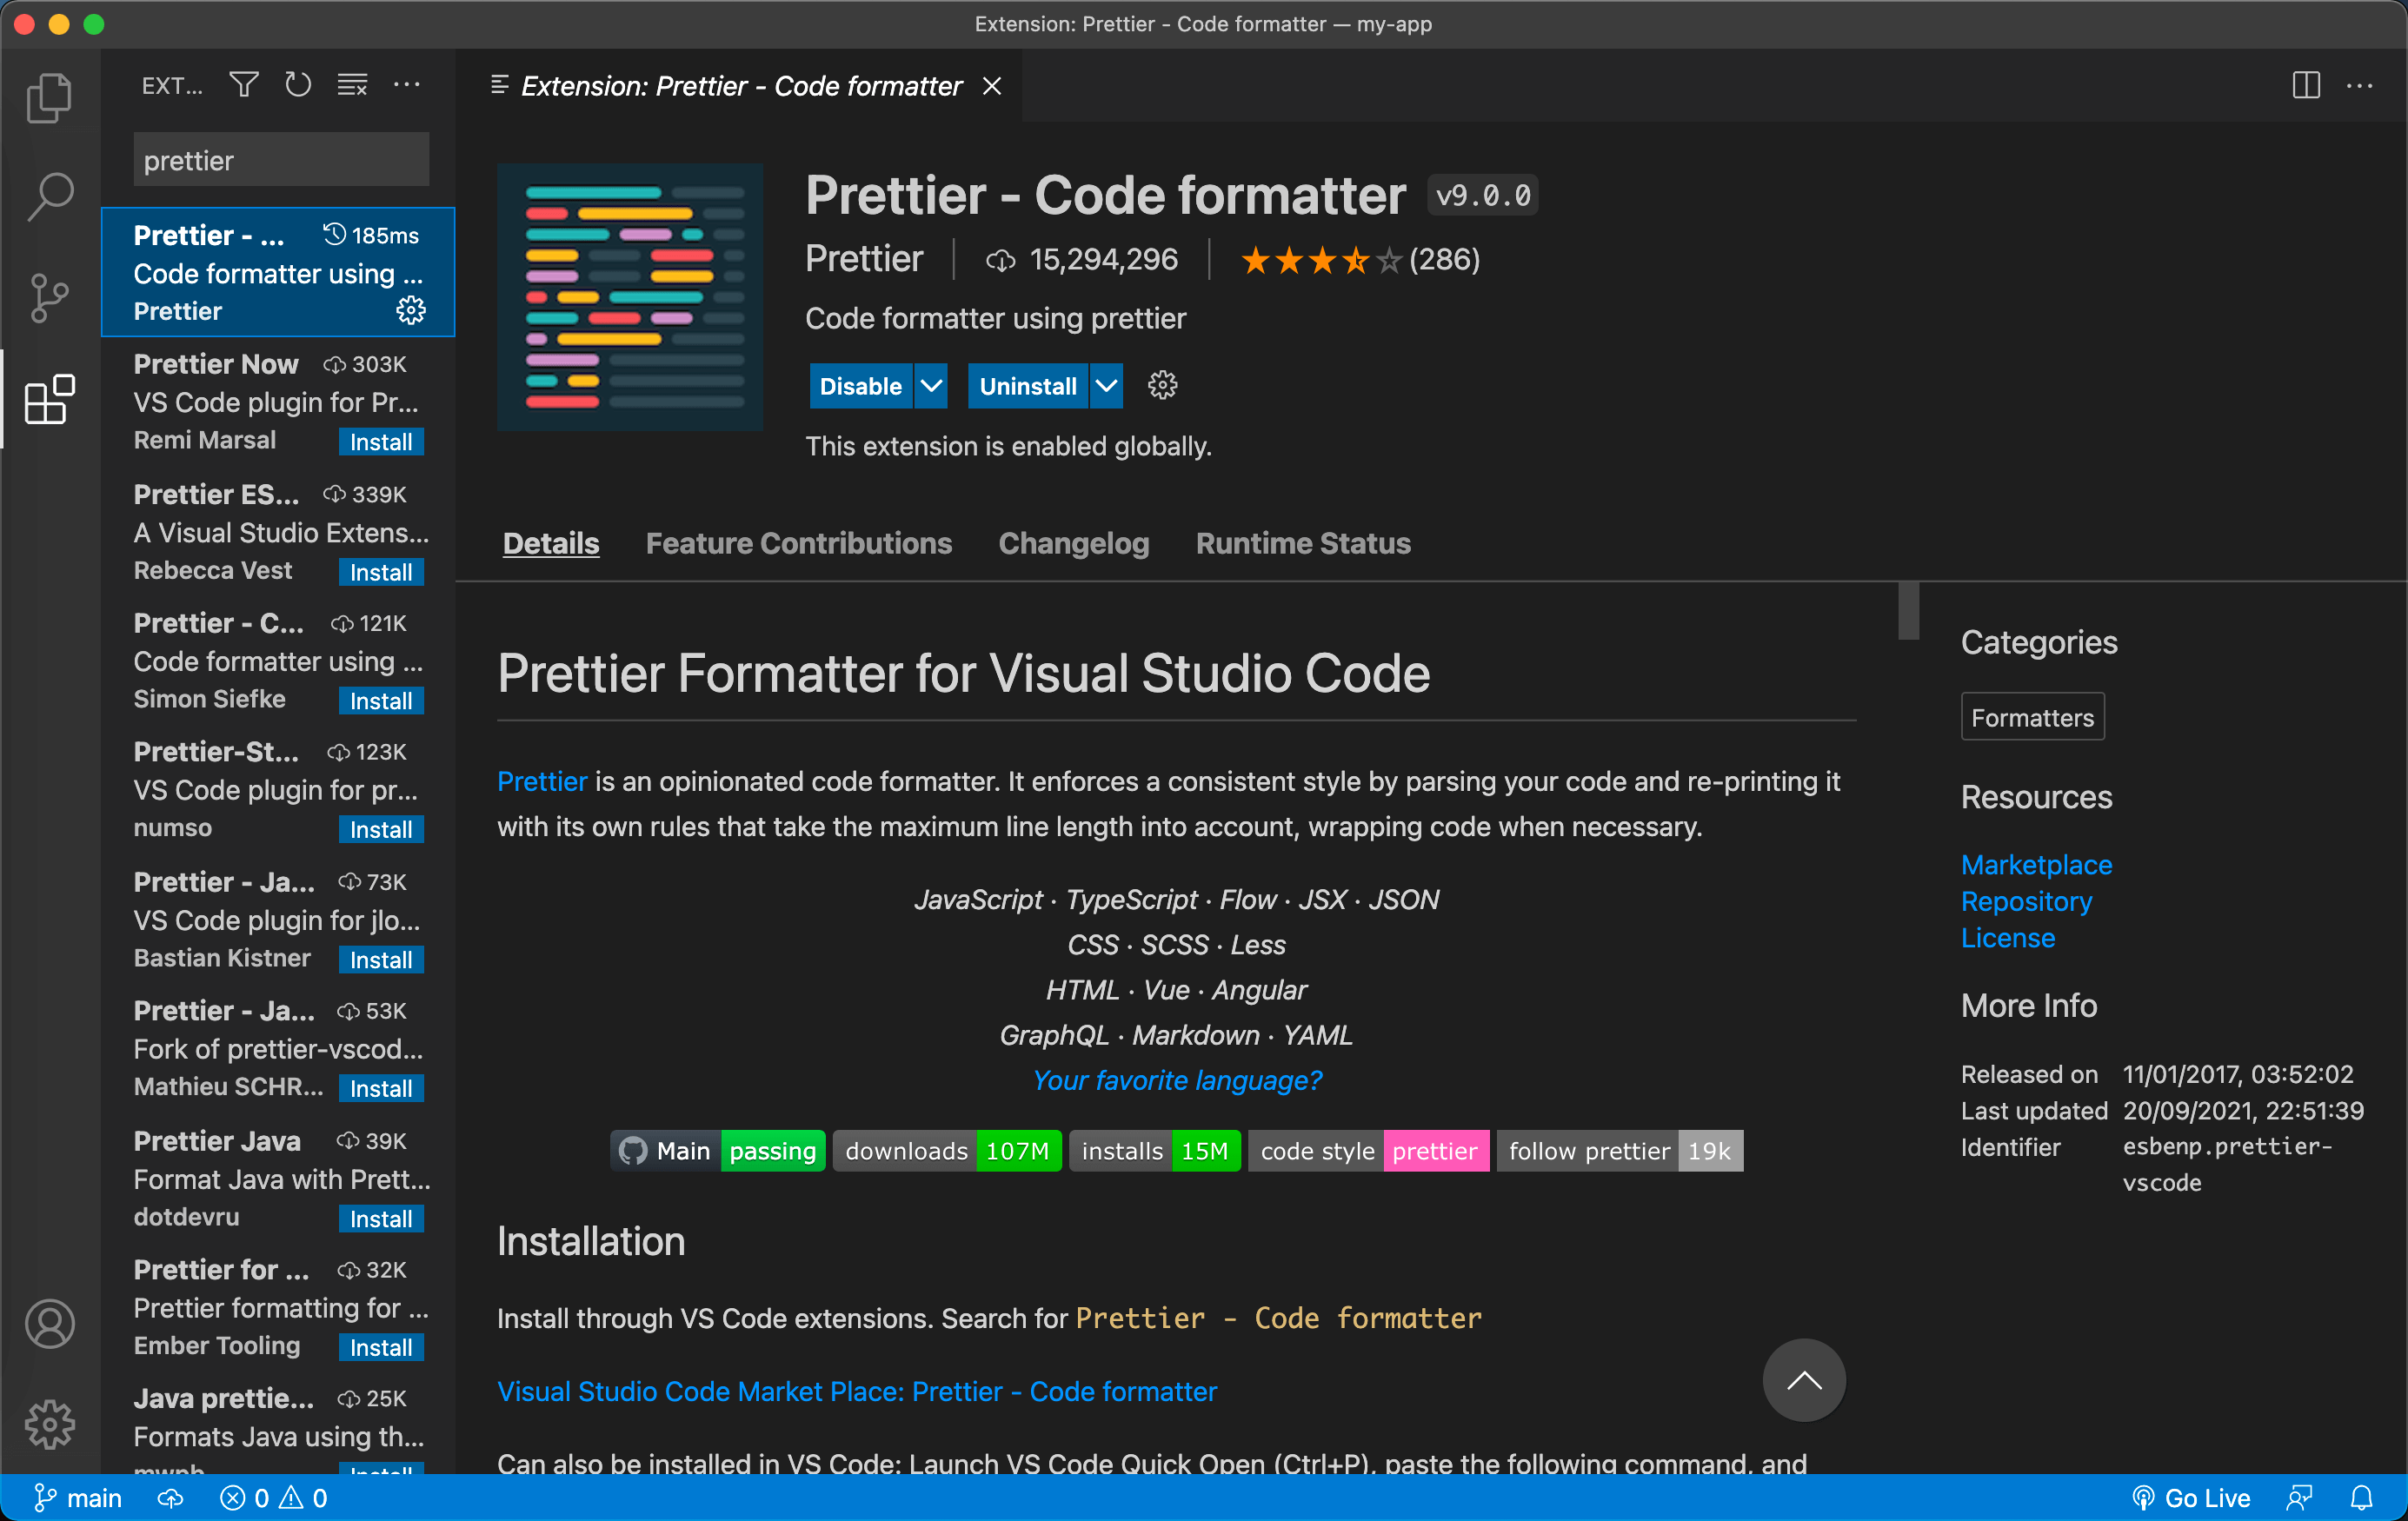
Then, let's install Prettier, it's a code formatter that formats the code for us when we save file changes which is another time-saver.
Click on the "Extensions" tab and look for "Prettier" and install it. You can also install it via this link.
After Prettier is installed, we still need to enable the formatting feature by updating our settings in Visual Studio Code. Let's create a folder in the root directory and name it .vscode. Then, create a file inside it and name it settings.json. Then update the created file with the code below:
{
  "editor.formatOnSave": true,
  "editor.defaultFormatter": "esbenp.prettier-vscode",
  "editor.tabSize": 2
}
Feel free to modify editor.tabSize as that can be changed according to your preference.
Next, create another file in the root directory and name it .prettierrc. Update the created file and add the code below:
{
  "singleQuote": true,
  "trailingComma": "es5",
  "arrowParens": "always",
  "tabWidth": 2
}
This will be the config for Prettier to follow when formatting the code. These configs can be updated according to your preference.
Alright, once the changes are done. That should make our Prettier work.
Generating random data for tests
Lastly, let's install a library called faker which gives us random data when we write tests. Why do we want random data? It makes our tests more reliable as opposed to hardcoding the data we use in testing. Run the command below on your terminal to install it along with its type:
yarn add faker@5.5.3 @types/faker@5.5.9
Since our project uses TypeScript, when installing libraries, we would have to install their types as well, because if not TypeScript would display an error that it couldn't find the library's type declarations.
To use faker in a test case, it would be like this:
import faker from 'faker';
...
it('should render the title', () => {
  const title = faker.lorem.sentence();

  render(<MyComponent title={title} />);

  const titleEl = screen.queryByText(title);

  expect(titleEl).toBeInTheDocument();
});
You can check out their API here to know all the other data it can randomly generate.
And that's all you need. So you can now go ahead and start coding! For your info, I write posts about how to build your own components in React and TypeScript with tests so do check them out if you're interested!