Introduction
Are you still building your email templates with just plain HTML where you write code in an old and unconventional way with too much repetition resulting in large amounts of code that's very hard to maintain? Well, say no more. There's already an email framework that makes it less painful to build responsive email templates. It's called MJML - short for Mailjet Markup Language. Originally created by a team of developers at Mailjet, MJML's objective is to simplify the way people design responsive emails.
From the first glimpse of this framework, I was already hooked because this is exactly what I needed to improve my experience in building email templates. I knew I had to try it out right away. I'm glad I did because I'm now able to write less, save time and code more efficiently. I've shared my experience with this framework with my colleagues and they were also amazed and convinced. The semantic syntax is so simple! I didn't have to struggle as much with responsiveness as it works well on different email platforms, even on Outlook. If you're still not convinced, you can learn more about this framework here.
If you're already on board and ready to get started, I'll now teach you how to set up local development for MJML framework. This will give you a head start and help you build your email template even faster.
Skip
If you don't want to go through the steps below and you just want to get the boilerplate to save time, you can clone it here or run the git command below:
git clone git@github.com:dominicarrojado/mjml-email-framework-boilerplate.git my-email-template
Don't forget to ⭐ and share the repo if you like it!
Prerequisites
By the way, upon writing this post, I assume that you have some web development background and basic knowledge regarding npm, yarn, HTML and CSS.
Some prerequisites below. Make sure to install them if you haven't!
We'll be using Visual Studio Code as our IDE in this tutorial as we will utilize a few extensions from their marketplace. And we'll use Yarn as our package manager, it's just like npm but faster.
Initialize your project
Now, create your folder and give it a name that best describes your email template. This will be the root folder of your code.
mkdir sample-email-template
Open the created folder in your Visual Studio Code.
Then create a folder and name it src. Inside it, create a file named index.mjml.
Now, open the terminal in Visual Studio Code. The keyboard shortcut would be Ctrl + `.
Then, initialize Yarn using the command below:
yarn init -y
It will create a package.json file. The command parameters -y will skip the interactive session and use the default options. Feel free to modify the file later if you need to.
Then create an empty yarn.lock in the root folder because you might receive an error saying "The nearest package directory /folder/to/current/xxx doesn't seem to be part of the project declared in /folder/to/outside/xxx."
Install MJML library
Okay, let's now install MJML library as devDependencies using the the command below:
yarn add -D mjml
Once installed, open your package.json and modify it to add the MJML build command in the scripts. This command will generate the HTML file based on your MJML file.
{
  ...
  "scripts": {
    "build": "mjml src/index.mjml --output src/index.html"
  }
}
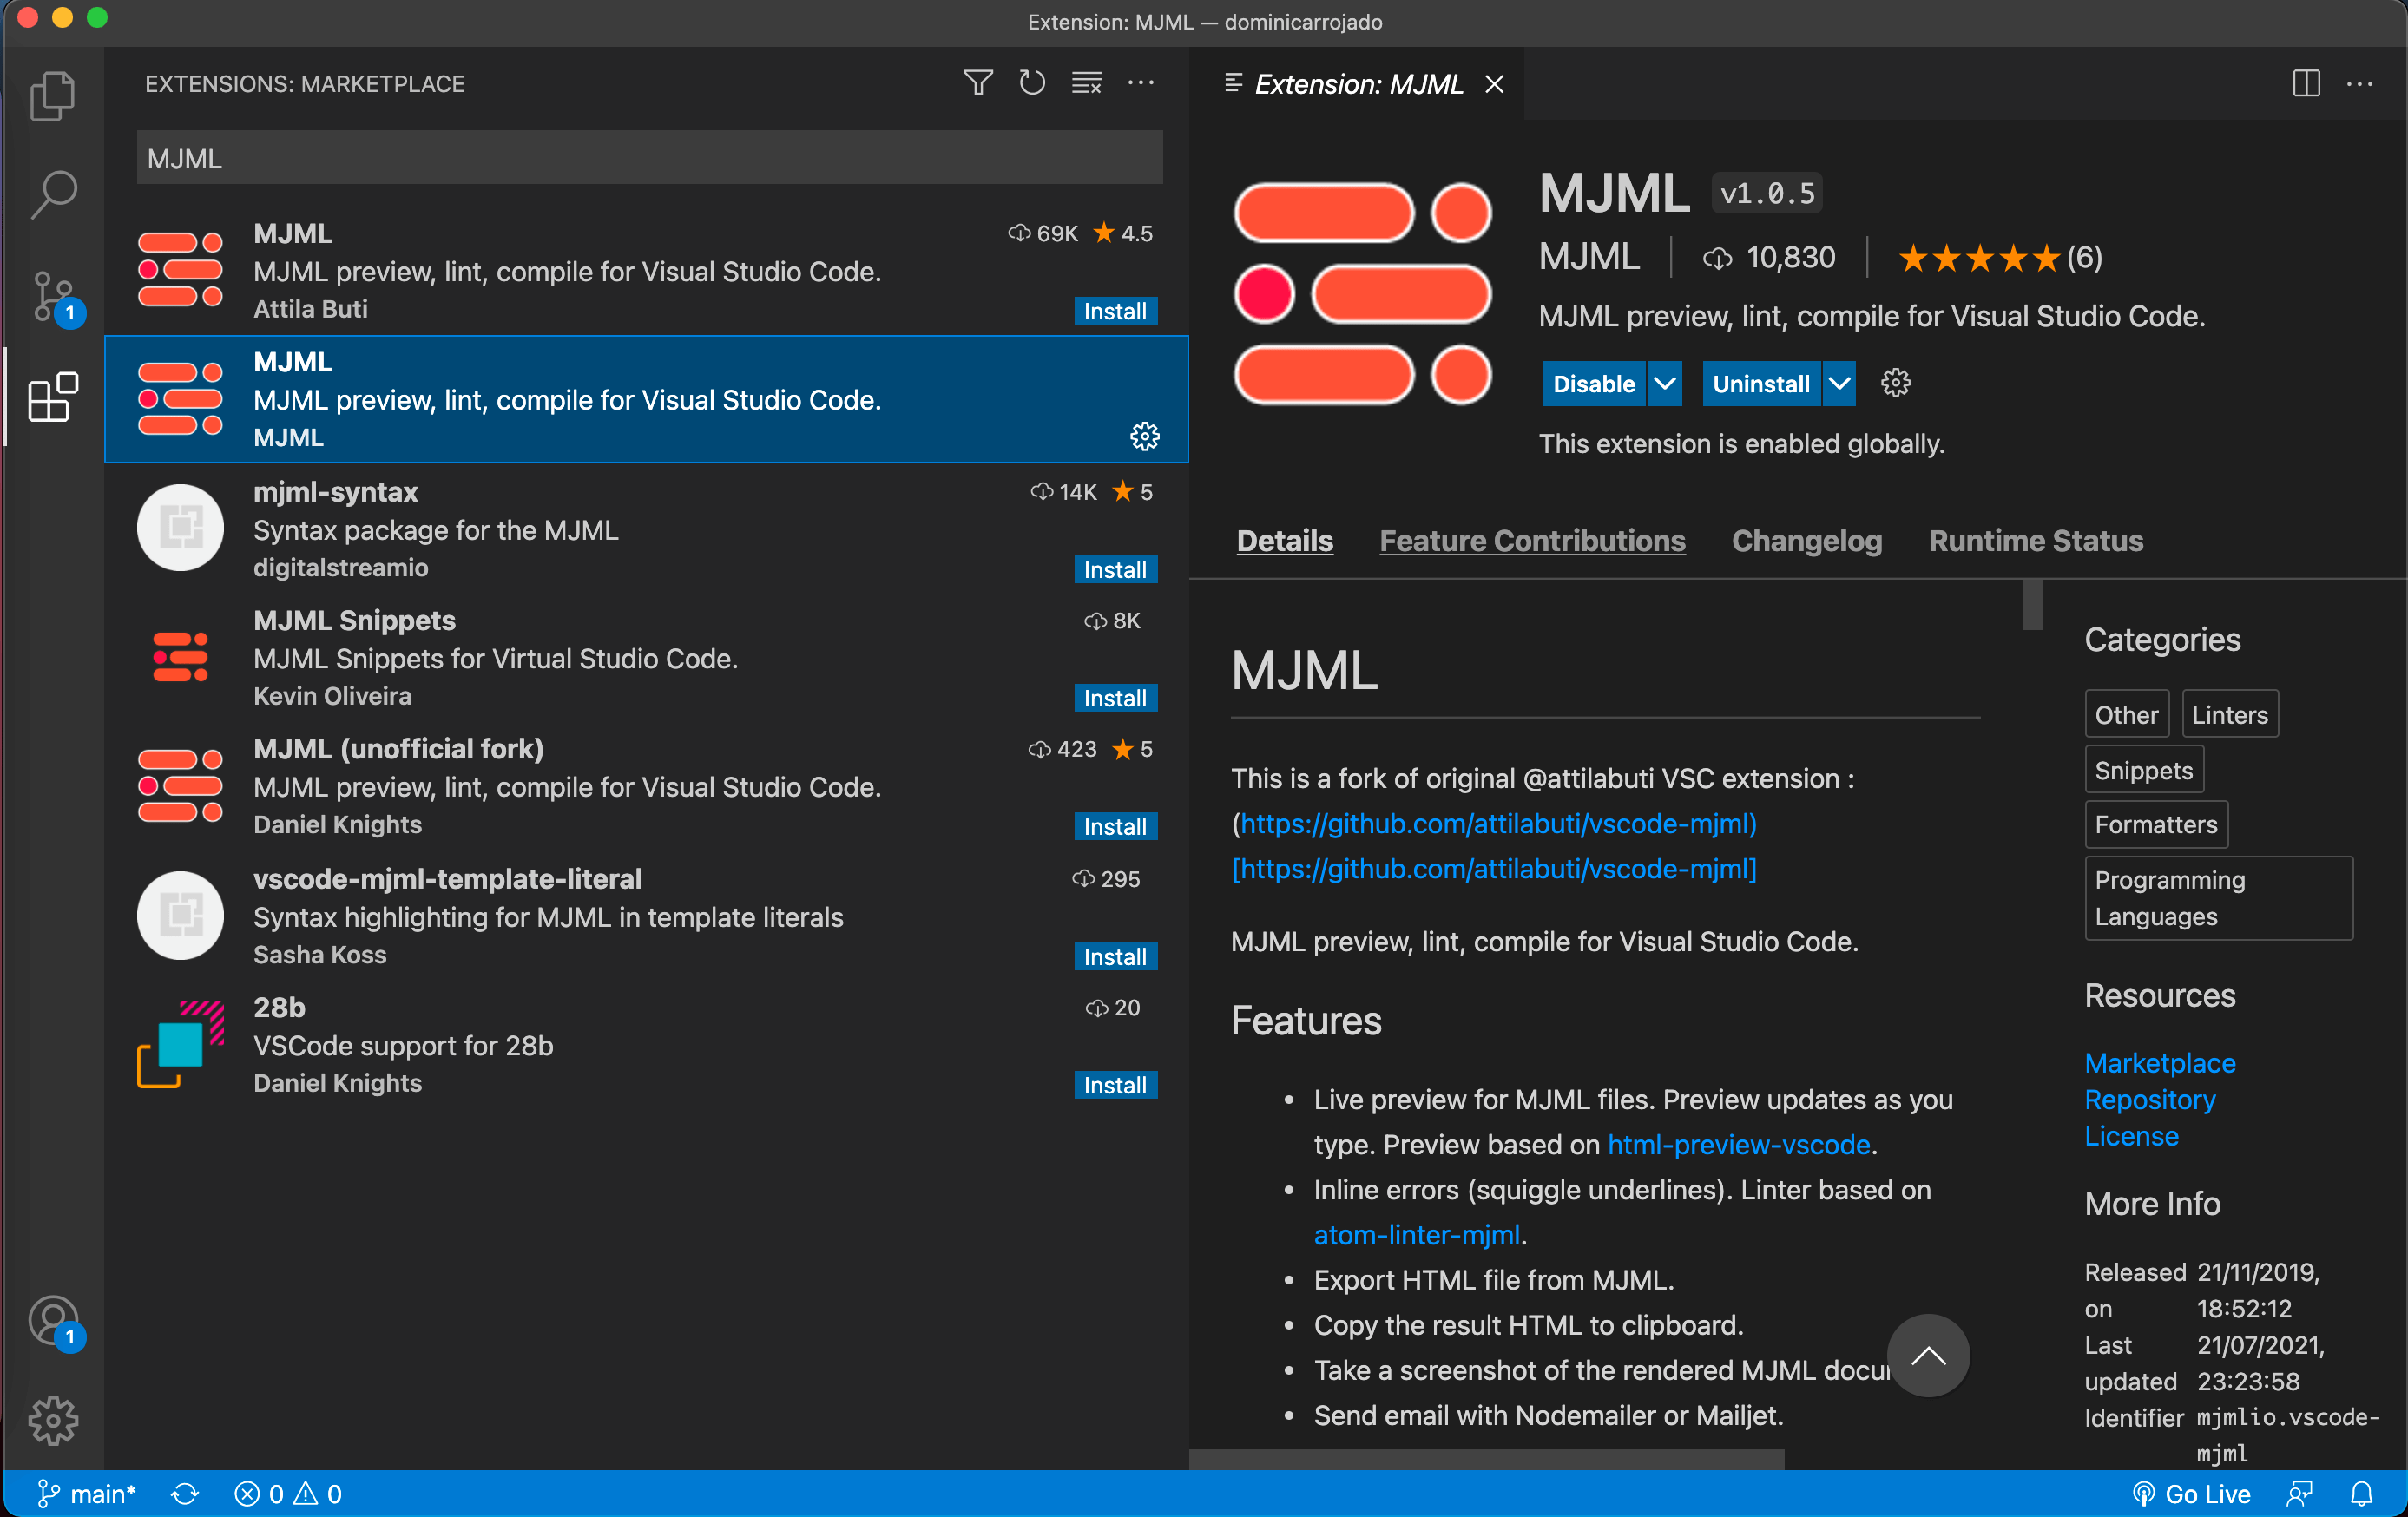
Install MJML Extension in Visual Studio Code
Then click on the "Extensions" tab and look for "MJML" and install it. You can also install it via this link.
One of the features of this extension is that it can beautify the MJML code. To enable that feature, create a folder in your root directory and name it .vscode. Then, create a file inside it and name it settings.json. This is done to have project-specific settings for Visual Studio Code. Let's update the created file to add the code below:
{
  "editor.formatOnSave": true,
  "editor.tabSize": 2,
  "[mjml]": {
    "editor.defaultFormatter": "mjmlio.vscode-mjml"
  }
}
Once updated, it will automatically format your MJML code when you do save. Feel free to modify editor.tabSize as that can be changed according to your preference.
Live Preview for MJML files
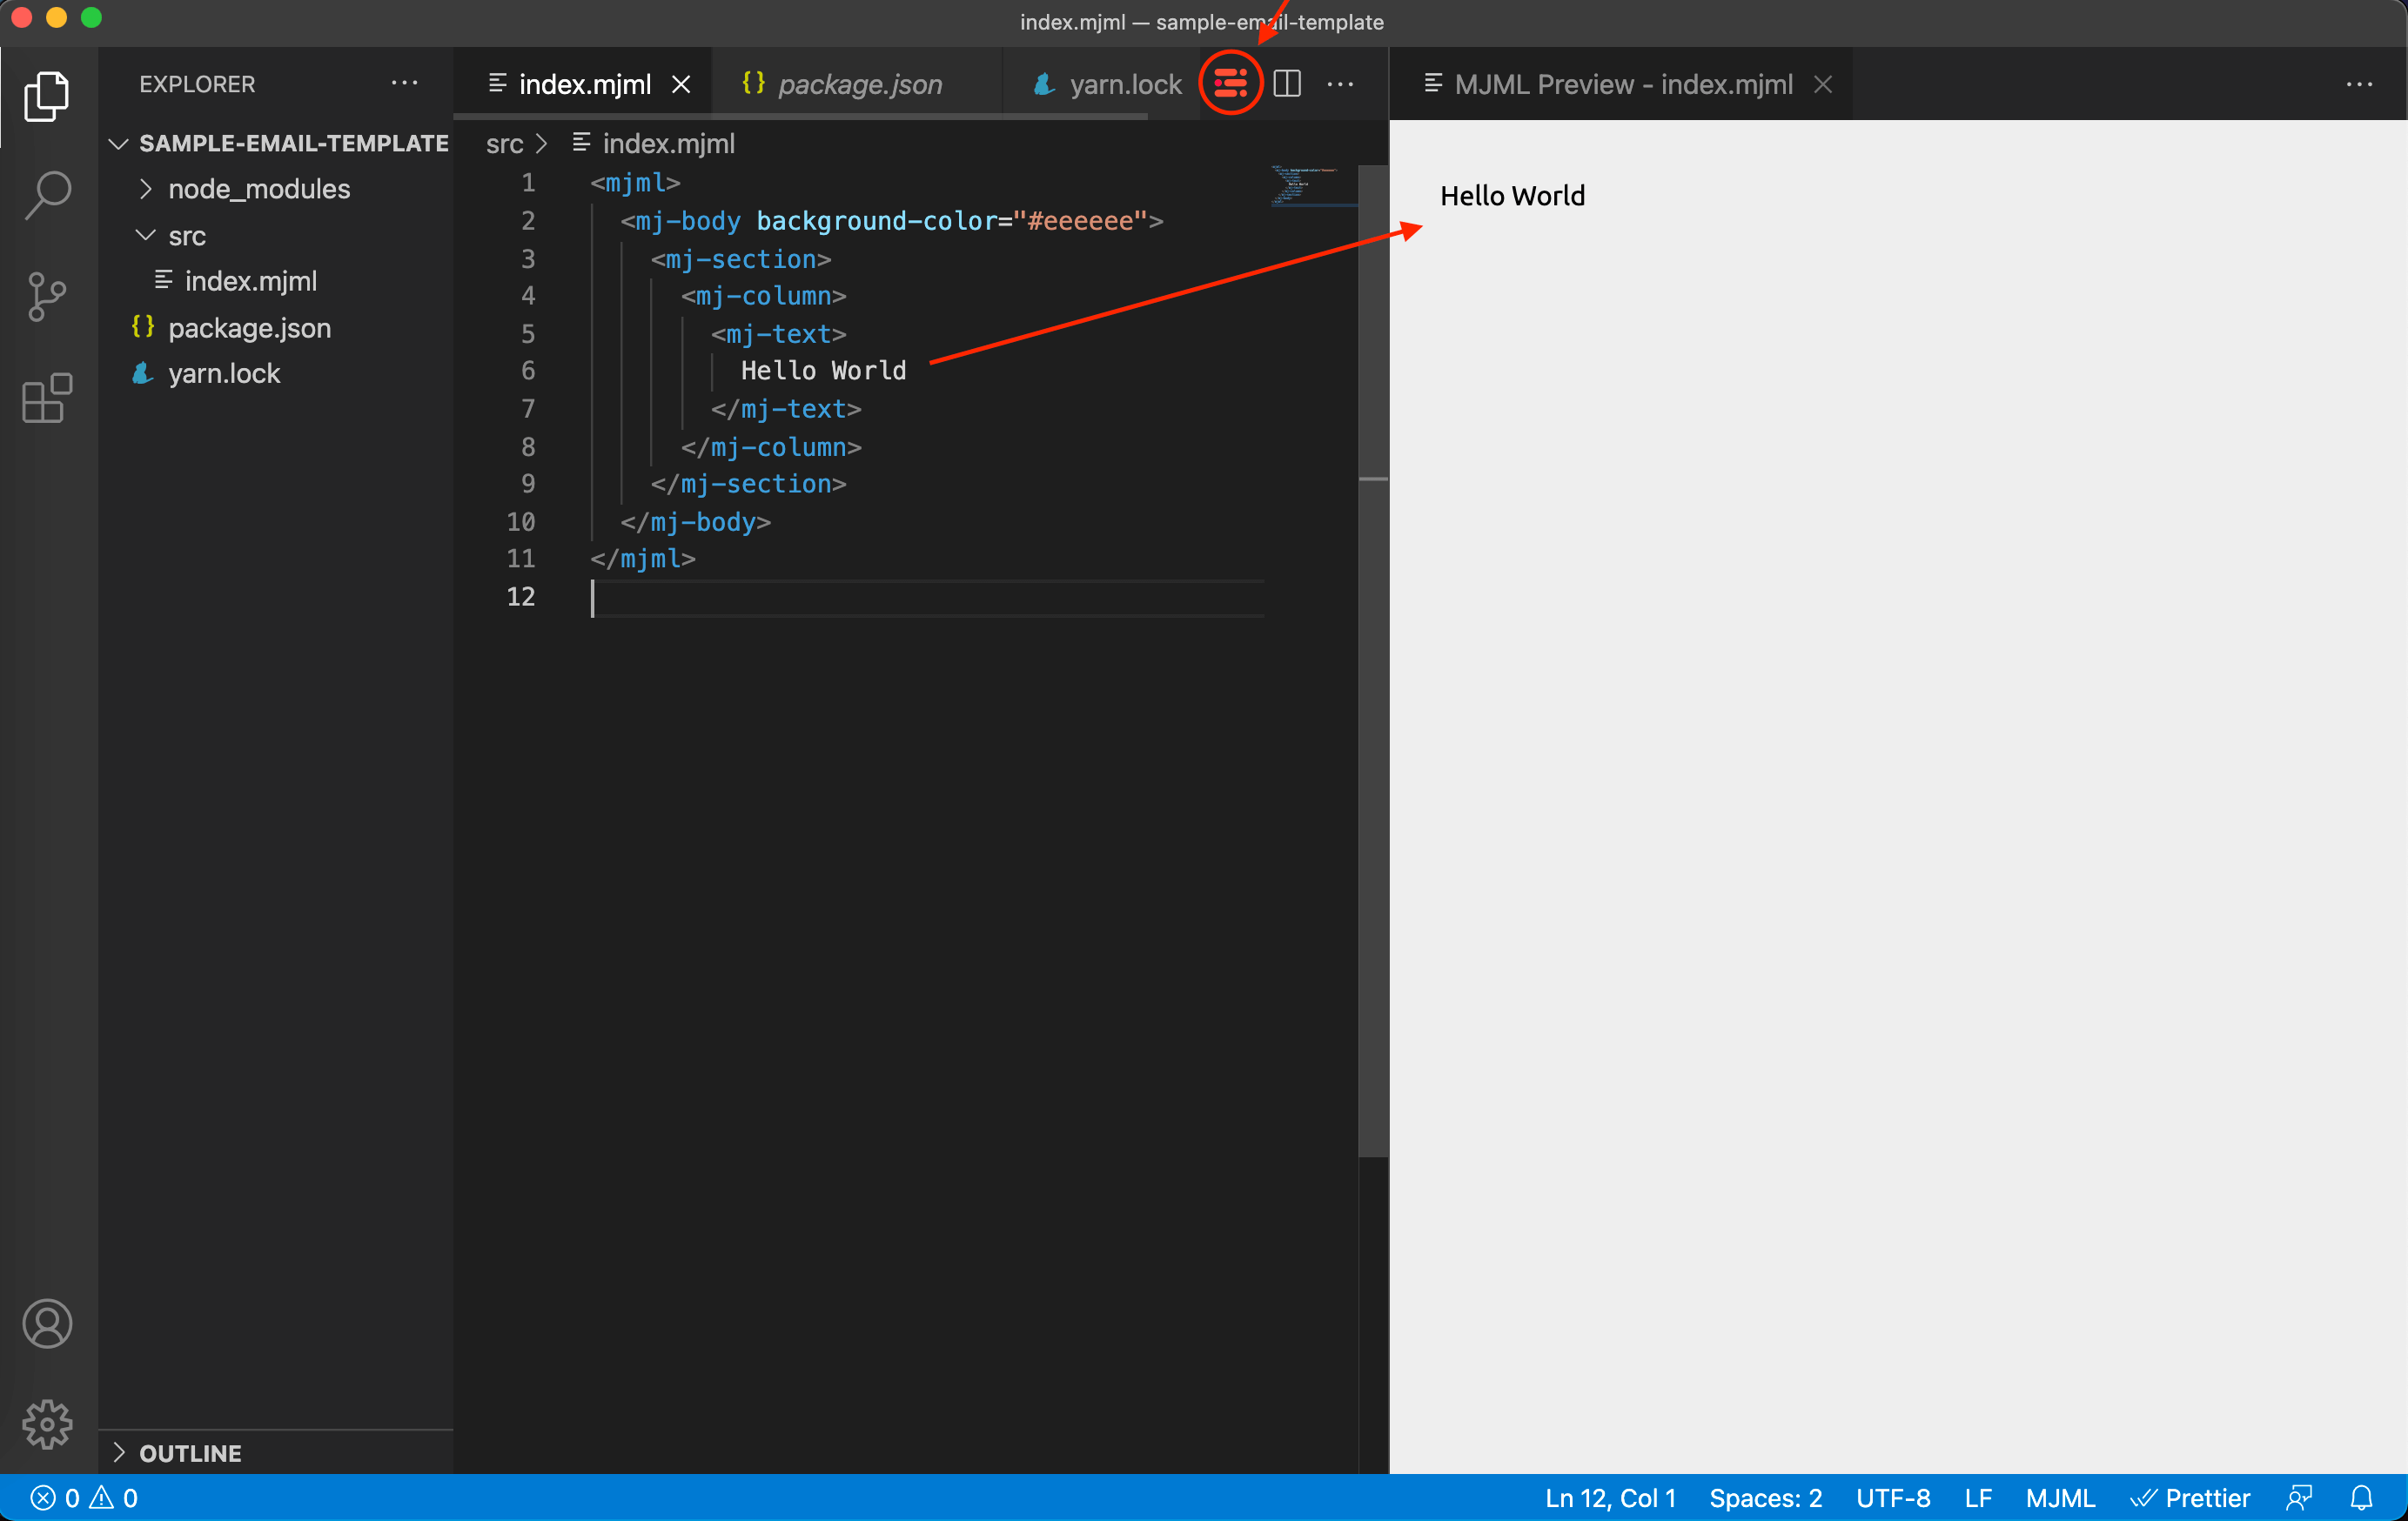
Now, if you have a decent-sized monitor with a resolution of at least 1920 x 1080, then you're done with this setup! That's because the MJML extension already has a live preview for MJML files. Within Visual Studio code, you can click on the MJML logo located on the top right corner. It will split the screen between your code and the preview so you can see updates as you type. This extension can also show inline errors, provide code snippets and many more!
Let's try out the preview feature of the MJML extension. Open your index.mjml, it should show the MJML logo on the top right corner of your Visual Studio Code, click it and it will split the screen.
Now, update your index.mjml to add the code below:
<mjml>
  <mj-body background-color="#eeeeee">
    <mj-section>
      <mj-column>
        <mj-text> Hello World </mj-text>
      </mj-column>
    </mj-section>
  </mj-body>
</mjml>
You should be able to see the text on the preview side. Very cool!
When you're done writing MJML code, you can generate the HTML by running the command below:
yarn build
Local development scripts
If you're coding in a smaller-sized screen or prefer to have a wider screen for your code or maybe just an Alt + Tab kind of developer, then let's continue with the additional setup.
Install the Live Server and Concurrently using the command below. Live Server will create a server locally, it will help us serve the generated index.html by MJML so you can preview it in a browser. Concurrently will let us run multiple scripts with one script so you don't have to open multiple terminal windows to achieve the same thing.
yarn add -D live-server@1.2.1 concurrently
Once installed, open your package.json again and update the scripts with the following code below:
  "scripts": {
    "start": "mjml --watch src/index.mjml --output src/index.html",
    "server": "live-server --host=localhost --open=src",
    "dev": "concurrently \"yarn start\" \"yarn server\"",
    "build": "mjml src/index.mjml --output src/index.html"
  },
Let's understand each command that was newly added. The start script is basically the same as the build script but with a --watch parameter, which means it will be running in the background to watch for file changes and update the HTML file so we don't have to manually run the build script for every change. The server script is to start a server locally and serve the files inside the src folder, specifically our index.html so we can view it in the browser. Since we have 2 scripts that need to run at the same time, we created the dev script which will utilize concurrently to run both the start and the server script.
Let's run our dev script by typing the command below on our terminal:
yarn run dev
This command will open your default browser and go to http://localhost:8080/src/. If it doesn't, you can do it yourself too. You should be able to see the page with the text Hello World displayed on your browser. If you end up seeing the directory of /src/, just refresh the page and you should see your email template. This is the index.html served by our local server.
Now go back to Visual Studio Code and try to make some changes in the index.mjml file.
...
<mj-text> Hello Moon </mj-text>
...
Once you save the file, it will automatically update the index.html and refresh the page on the browser.
Commit your changes
If you're ready to commit your changes in git, you can create a .gitignore file and add the following below:
# See https://help.github.com/articles/ignoring-files/ for more about ignoring files.

# dependencies
/node_modules

# production
/src/index.html

# misc
.DS_Store
That's it! You now have a local development setup for MJML framework and can start building email templates. I hope this was helpful and please don't forget to share. For the next post, it's all about building an email template using MJML framework and it will utilize this setup. So if you're interested, please go ahead and check it out.
Cheers ~