Introduction
Next.js is a React framework that gives you the best developer experience with all the features you need for production: hybrid static and server rendering, TypeScript support, smart bundling, route pre-fetching, and more. This is a guide on how to set up a local development for Next.js projects with TypeScript support and TailwindCSS. TailwindCSS is a utility-first CSS framework to rapidly build modern websites without ever leaving your HTML. Along with the setup, we'll configure Jest and React Testing Library for writing component and unit tests. Of course, this setup wouldn't be complete without a CI/CD pipeline that helps to deploy our code to GitHub Pages whenever we push changes to our repository and this will be automated using GitHub Actions. This setup will also involve extensions and libraries that help us write our code efficiently.
Skip
If you don't want to go through the steps below and you just want to get the boilerplate to save time, you can clone it here or run the git command below:
git clone git@github.com:dominicarrojado/nextjs-typescript-tailwindcss-boilerplate.git my-app
Don't forget to ⭐ and share the repo if you like it!
Prerequisites
By the way, upon writing this post, I assume that you have some web development background and basic knowledge regarding npm, yarn, HTML, CSS, TailwindCSS, JavaScript, TypeScript, React, Next.js and Jest.
Some prerequisites below. Make sure to install them in your system if you haven't!
We'll be using Visual Studio Code as our IDE in this tutorial as we will utilize a few extensions from their marketplace. And we'll use Yarn as our package manager, it's just like npm but faster.
Initialize your project
The easiest way to get started with Next.js is by using Create Next App. This CLI tool enables us to quickly start building a new Next.js application, with everything set up for us. To create our project with TypeScript support, run this command in your terminal:
yarn create next-app --typescript
Open the created project in your Visual Studio Code. Then open the terminal in Visual Studio Code. The keyboard shortcut would be Ctrl + `.
Then, let's run our project to see if everything is working fine:
yarn dev
This command will start the development server. You can visit http://localhost:3000 on your browser to view the application. The page should show something like this:
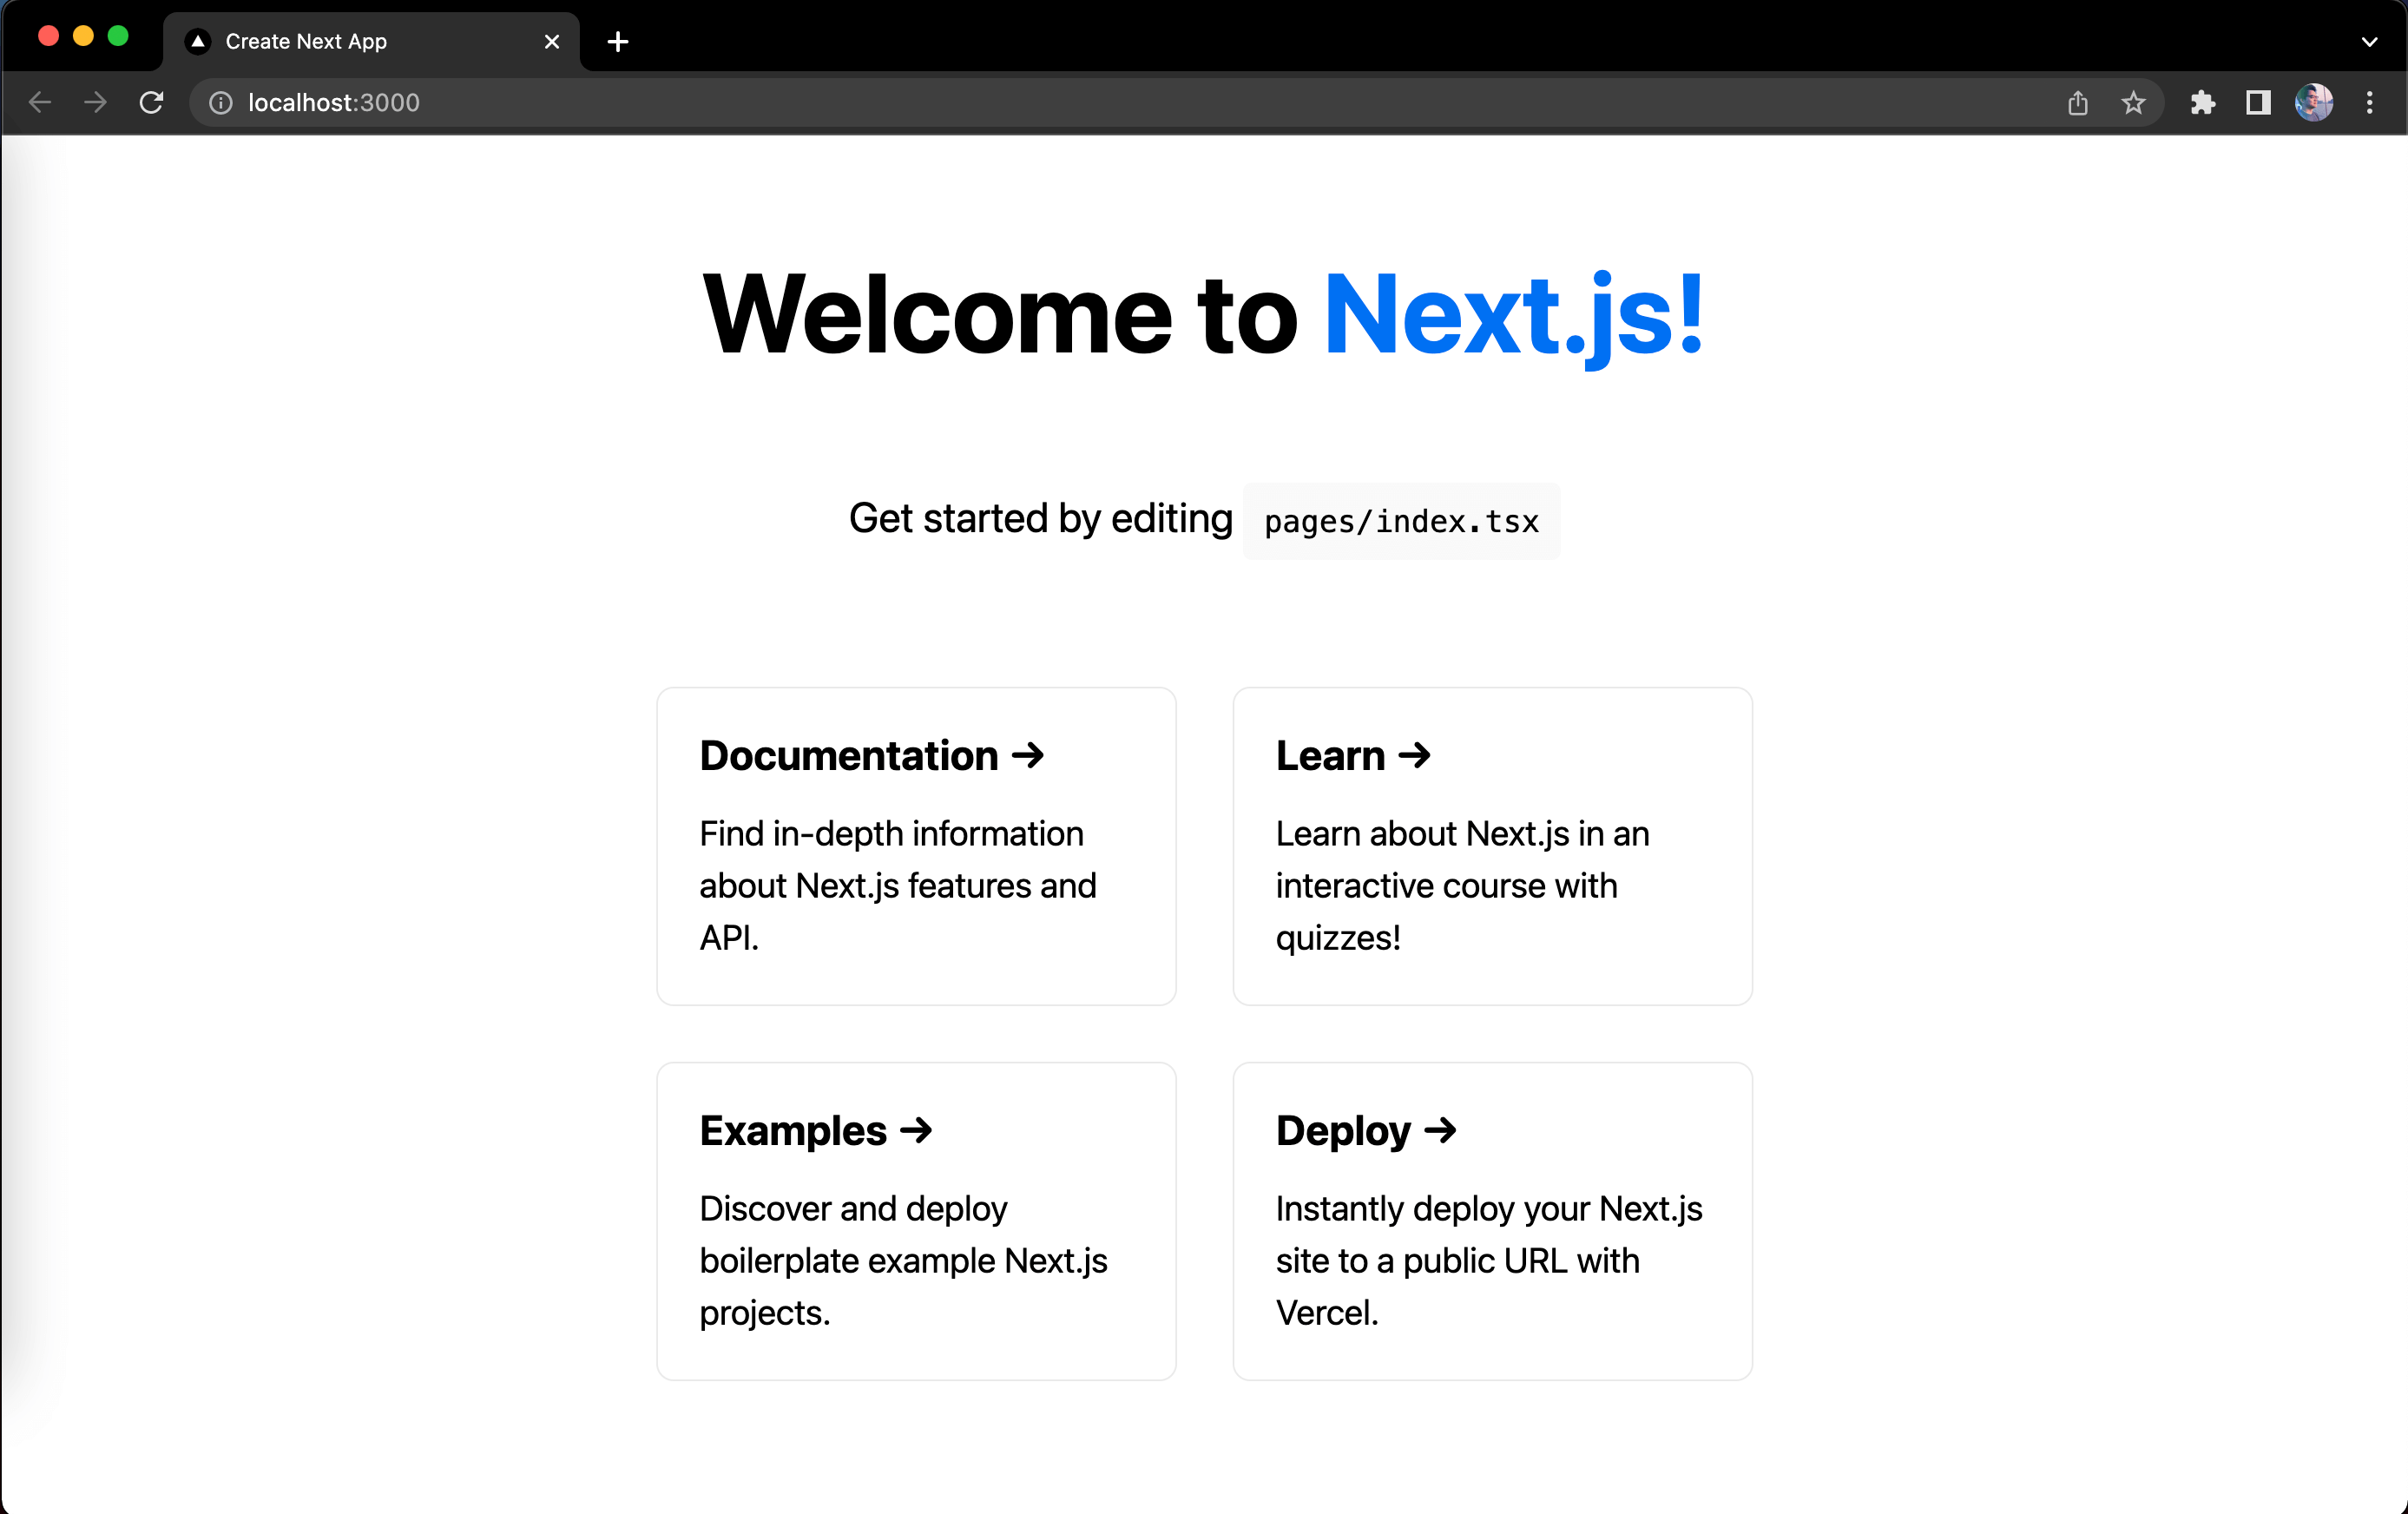
This setup comes with live-editing or hot reloading which means when we save file changes, it will automatically update the app in your browser. That's great for local development!
Install ES7 React Snippets extension in Visual Studio Code
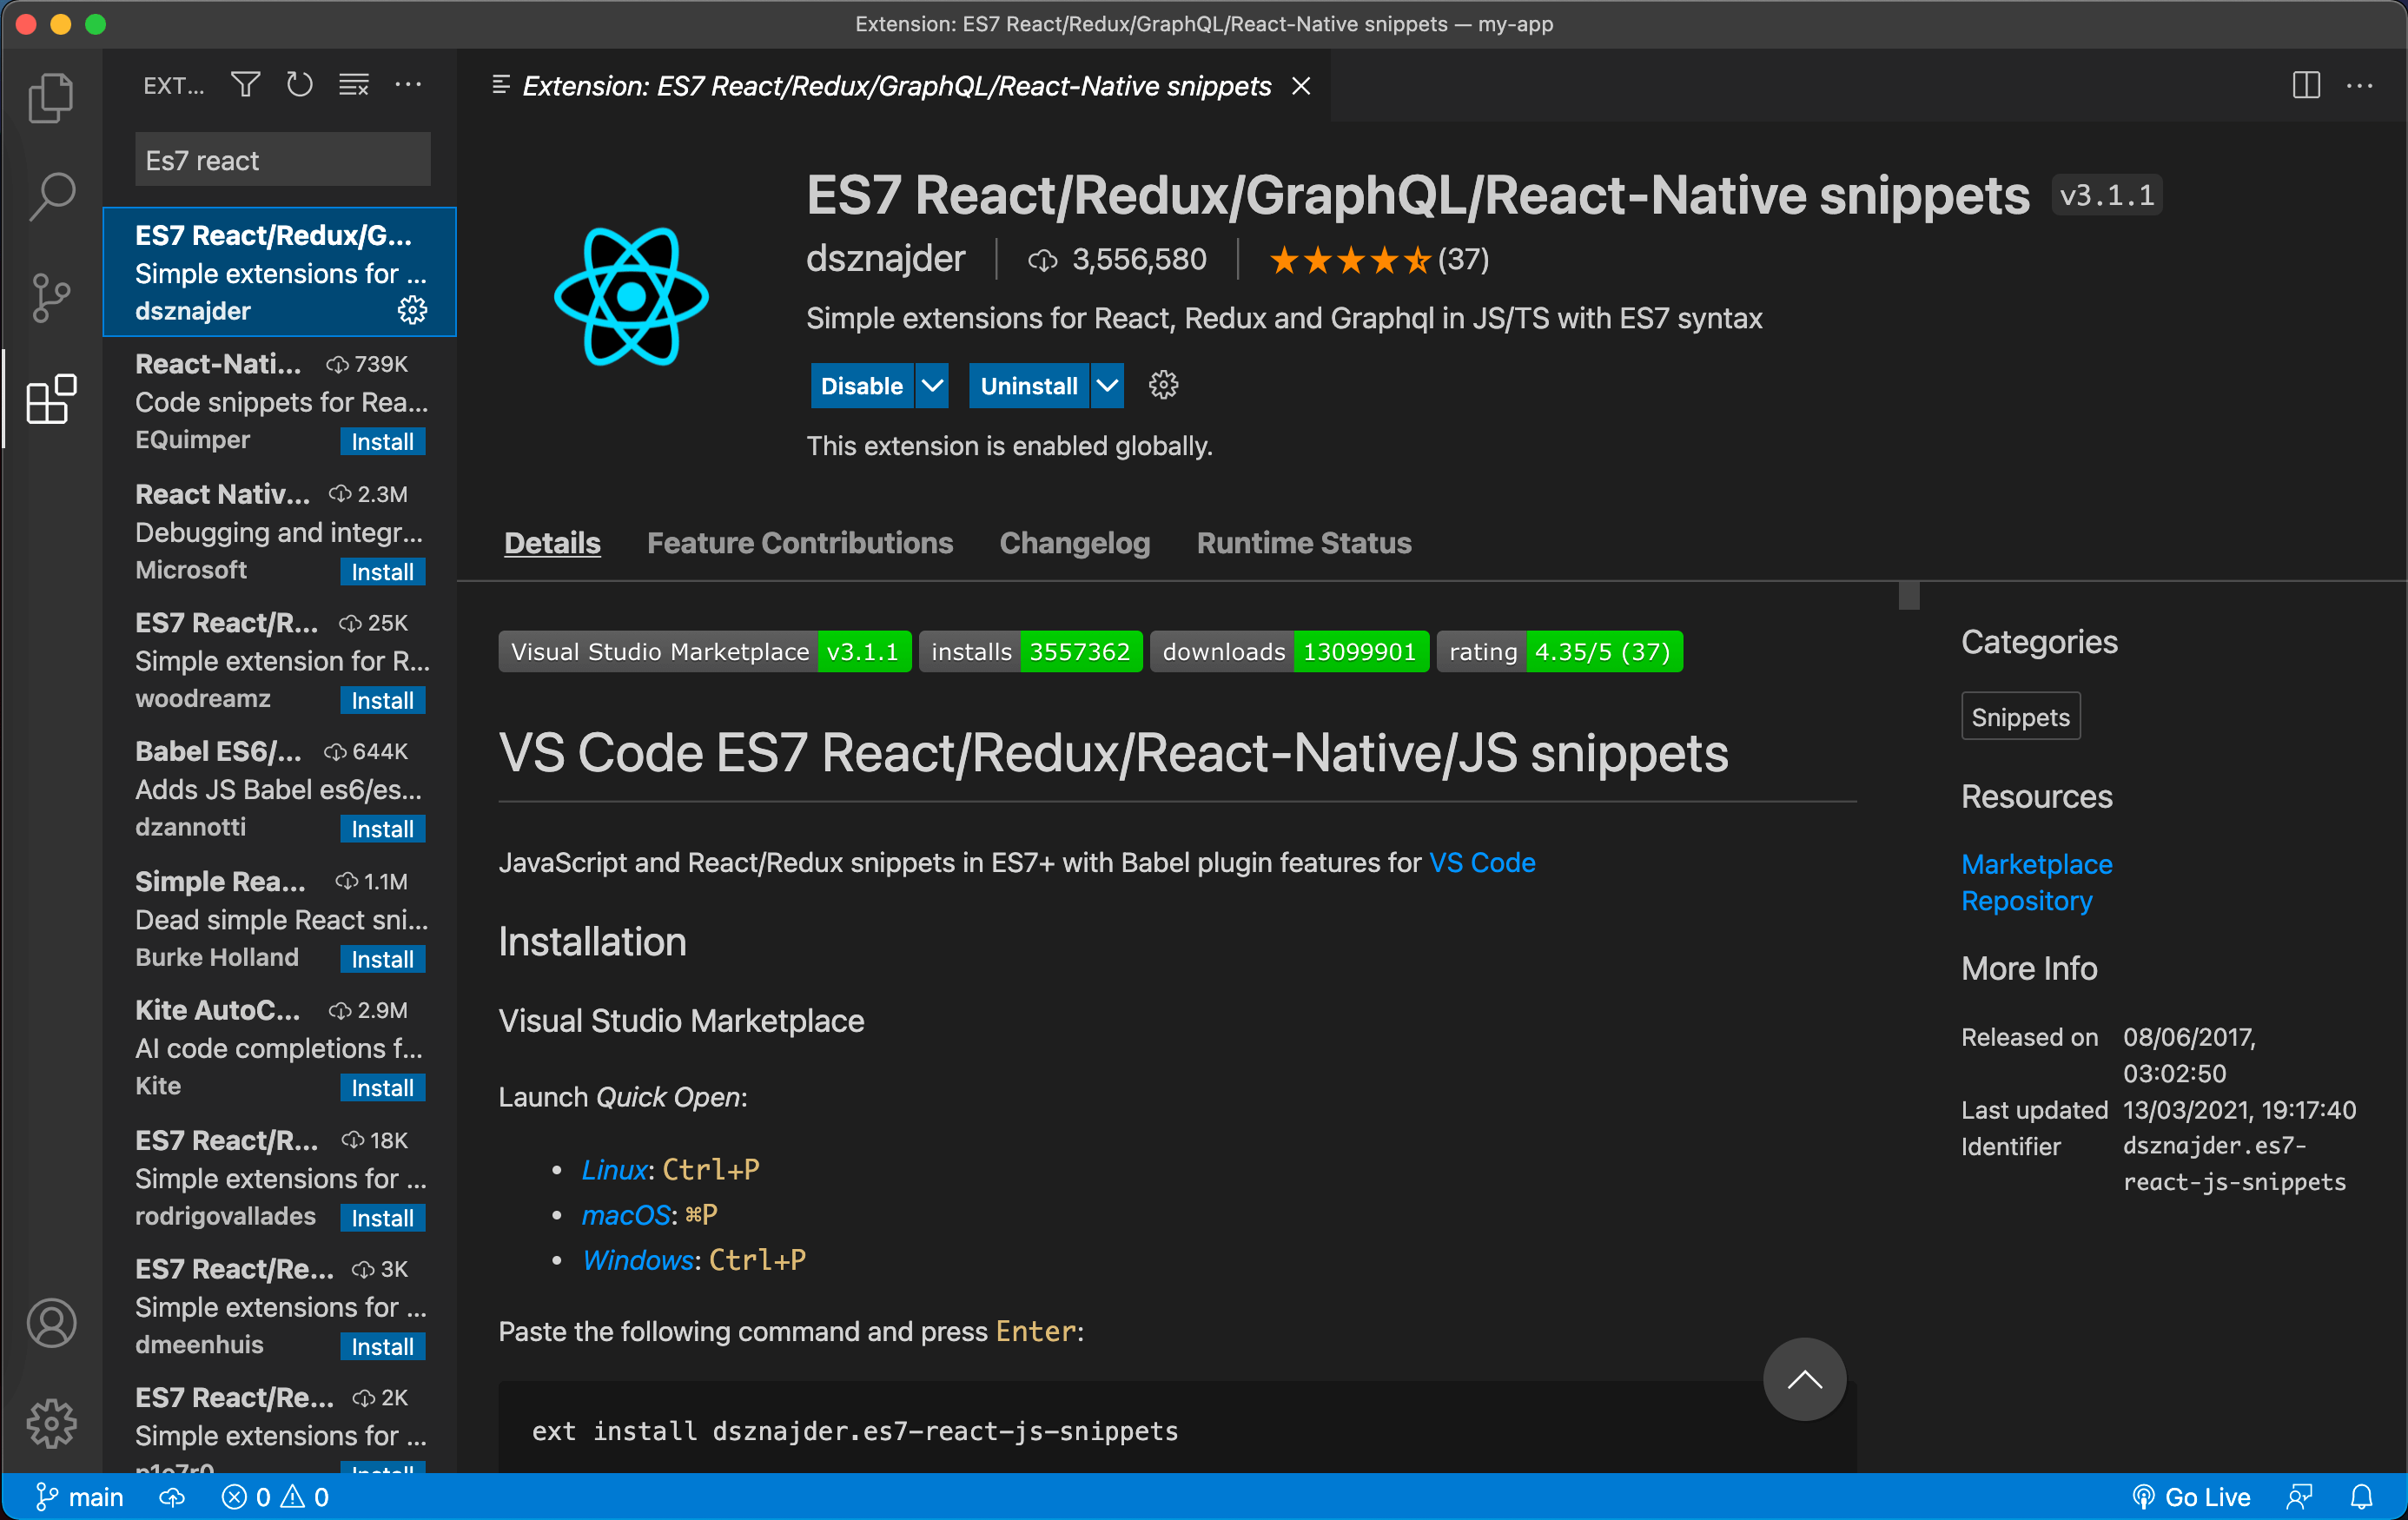
Next, let's install ES7 React Snippets. You can think of it like a shortcut that helps you create the basic structure of a component in React, for example I want to create a functional component, I have to write the code to import React first, then write the function component then lastly write the code to export it. With this extension, I can easily achieve the same by typing rfce and it will show a suggestion for reactFunctionalComponentExport and I just have to press ENTER and it will write the code for us. This saves us time and energy when writing components.
Click on the "Extensions" tab and look for "ES7 React" and install it. You can also install it via this link.
Set up Prettier
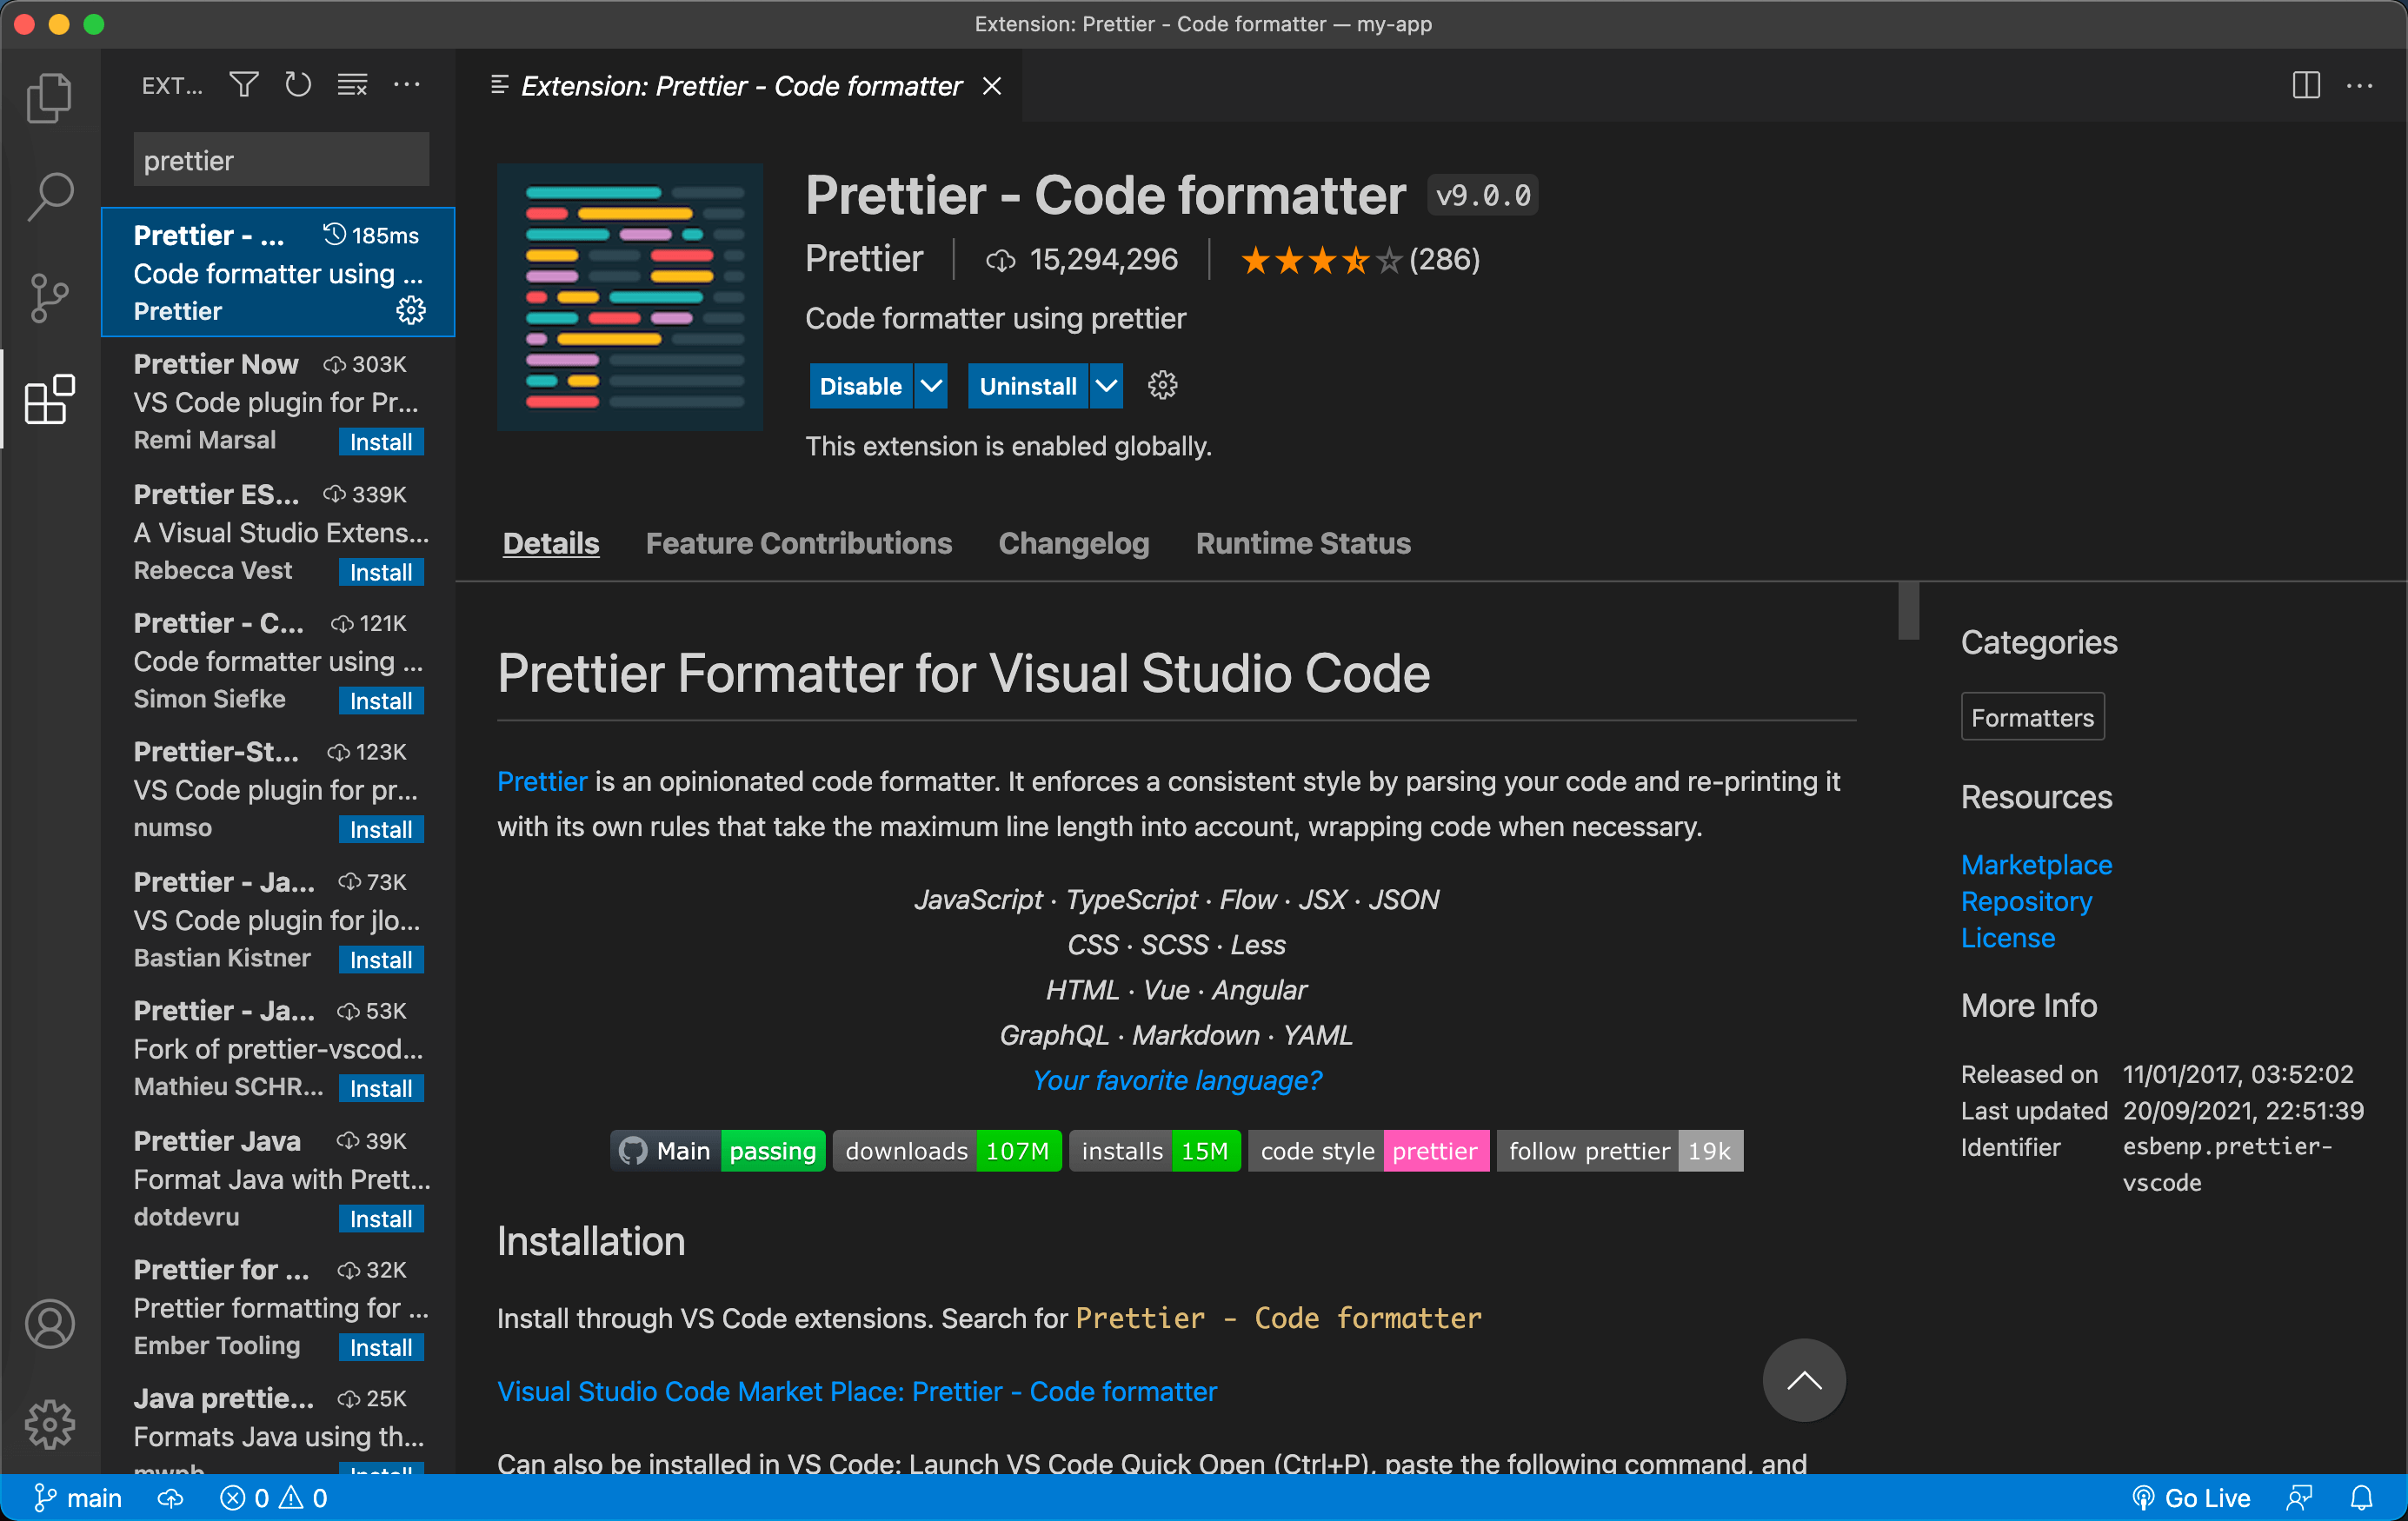
Now, let's set up Prettier. It's a code formatter that formats the code for us when we save file changes which is another time-saver.
In Visual Studio Code, click on the "Extensions" tab and look for "Prettier" and install it. You can also install it via this link.
After Prettier is installed, we still need to enable the formatting feature by updating our settings in Visual Studio Code. Create a file .vscode/settings.json and update it with the following code below:
{
  "editor.formatOnSave": true,
  "editor.defaultFormatter": "esbenp.prettier-vscode",
  "editor.tabSize": 2
}
Feel free to modify editor.tabSize as that can be changed according to your preference.
Then, create another file .prettierrc in the root directory and add the following code below:
{
  "singleQuote": true,
  "trailingComma": "es5",
  "arrowParens": "always",
  "tabWidth": 2
}
This will be the config for Prettier to follow when formatting the code. These configs can be updated according to your preference.
Next.js provides an integrated ESLint experience out of the box. ESLint also contains code formatting rules, which can conflict with our existing Prettier setup. It is recommended to include eslint-config-prettier in your ESLint config to make ESLint and Prettier work together.
First, install the dependency:
yarn add --dev eslint-config-prettier
Then, add prettier to your existing ESLint config .eslintrc.json:
{
  "extends": ["next", "next/core-web-vitals", "prettier"]
}
To exclude files from formatting, create a .prettierignore file in the root of your project. Let's create one and add the following code:
.next
out
coverage
Alright, once the changes are done. That should make our Prettier work.
Set up TailwindCSS
To configure Tailwind manually, first install tailwindcss and its peer dependencies via yarn, and then run the init command to generate both tailwind.config.js and postcss.config.js.
yarn add --dev tailwindcss postcss autoprefixer
npx tailwindcss init -p
Then, let's add the paths to all of our template files in our tailwind.config.js file.
/** @type {import('tailwindcss').Config} */
module.exports = {
  content: [
    './pages/**/*.{js,ts,jsx,tsx}',
    './components/**/*.{js,ts,jsx,tsx}',
  ],
  ...
};
Next, let's add the @tailwind directives for each of Tailwind's layers to our styles/globals.css file.
@tailwind base;
@tailwind components;
@tailwind utilities;
Now that we're using TailwindCSS, we no longer need styles/Home.module.css, so let's delete it.
Then update pages/index.tsx to use TailwindCSS classes instead of using CSS Modules:
import type { NextPage } from 'next';
import Head from 'next/head';
const Home: NextPage = () => {
return (
<div className="px-8">
<Head>
<title>Create Next App</title>
<meta name="description" content="Generated by create next app" />
<link rel="icon" href="/favicon.ico" />
</Head>
<main className="flex flex-col justify-center items-center min-h-screen py-16">
<h1 className="text-center text-6xl">
Welcome to{' '}
<a
href="https://nextjs.org"
className="text-blue-600 hover:underline"
>
Next.js!
</a>
</h1>
<p className="my-16 text-center text-2xl">
Get started by editing{' '}
<code className="rounded bg-slate-50 p-3 text-lg font-mono">
pages/index.tsx
</code>
</p>
<div className="flex flex-col flex-wrap justify-center items-center max-w-full sm:flex-row sm:max-w-2xl">
<a
href="https://nextjs.org/docs"
className="max-w-[300px] m-4 p-6 text-left text-inherit border border-slate-200 rounded-lg transition-colors hover:border-blue-600 hover:text-blue-600"
>
<h2 className="mb-4 text-2xl">Documentation →</h2>
<p className="text-xl">
Find in-depth information about Next.js features and API.
</p>
</a>
<a
href="https://nextjs.org/learn"
className="max-w-[300px] m-4 p-6 text-left text-inherit border border-slate-200 rounded-lg transition-colors hover:border-blue-600 hover:text-blue-600"
>
<h2 className="mb-4 text-2xl">Learn →</h2>
<p className="text-xl">
Learn about Next.js in an interactive course with quizzes!
</p>
</a>
<a
href="https://github.com/vercel/next.js/tree/canary/examples"
className="max-w-[300px] m-4 p-6 text-left text-inherit border border-slate-200 rounded-lg transition-colors hover:border-blue-600 hover:text-blue-600"
>
<h2 className="mb-4 text-2xl">Examples →</h2>
<p className="text-xl">
Discover and deploy boilerplate example Next.js projects.
</p>
</a>
<a
href="https://vercel.com/new?utm_source=create-next-app&utm_medium=default-template&utm_campaign=create-next-app"
className="max-w-[300px] m-4 p-6 text-left text-inherit border border-slate-200 rounded-lg transition-colors hover:border-blue-600 hover:text-blue-600"
>
<h2 className="mb-4 text-2xl">Deploy →</h2>
<p className="text-xl">
Instantly deploy your Next.js site to a public URL with Vercel.
</p>
</a>
</div>
</main>
<footer className="flex flex-1 justify-center items-center py-8 border-t border-slate-200">
<a
href="https://vercel.com?utm_source=create-next-app&utm_medium=default-template&utm_campaign=create-next-app"
target="_blank"
rel="noopener noreferrer"
className="flex flex-grow justify-center items-center"
>
Powered by{' '}
<span className="h-[1em] ml-2">
<img src="/vercel.svg" alt="Vercel Logo" width={72} height={16} />
</span>
</a>
</footer>
</div>
);
};
export default Home;
Image Optimization is not compatible with the next export which is what we're going to use later for the build and deployment. Hence, we are using <img /> here instead of <Image /> from next/image. Although, using <img /> in the code will trigger an ESLint rule violation, so we need to update .eslintrc.json to disable that rule:
{
  "extends": ["next", "next/core-web-vitals", "prettier"],
  "rules": {
    "@next/next/no-img-element": "off"
  }
}
Open your browser to check if our application is still working fine and looks the same as before. It should still work fine although it won't be 100% accurate as before but at least we're now using TailwindCSS classes in the code and that's what matters.
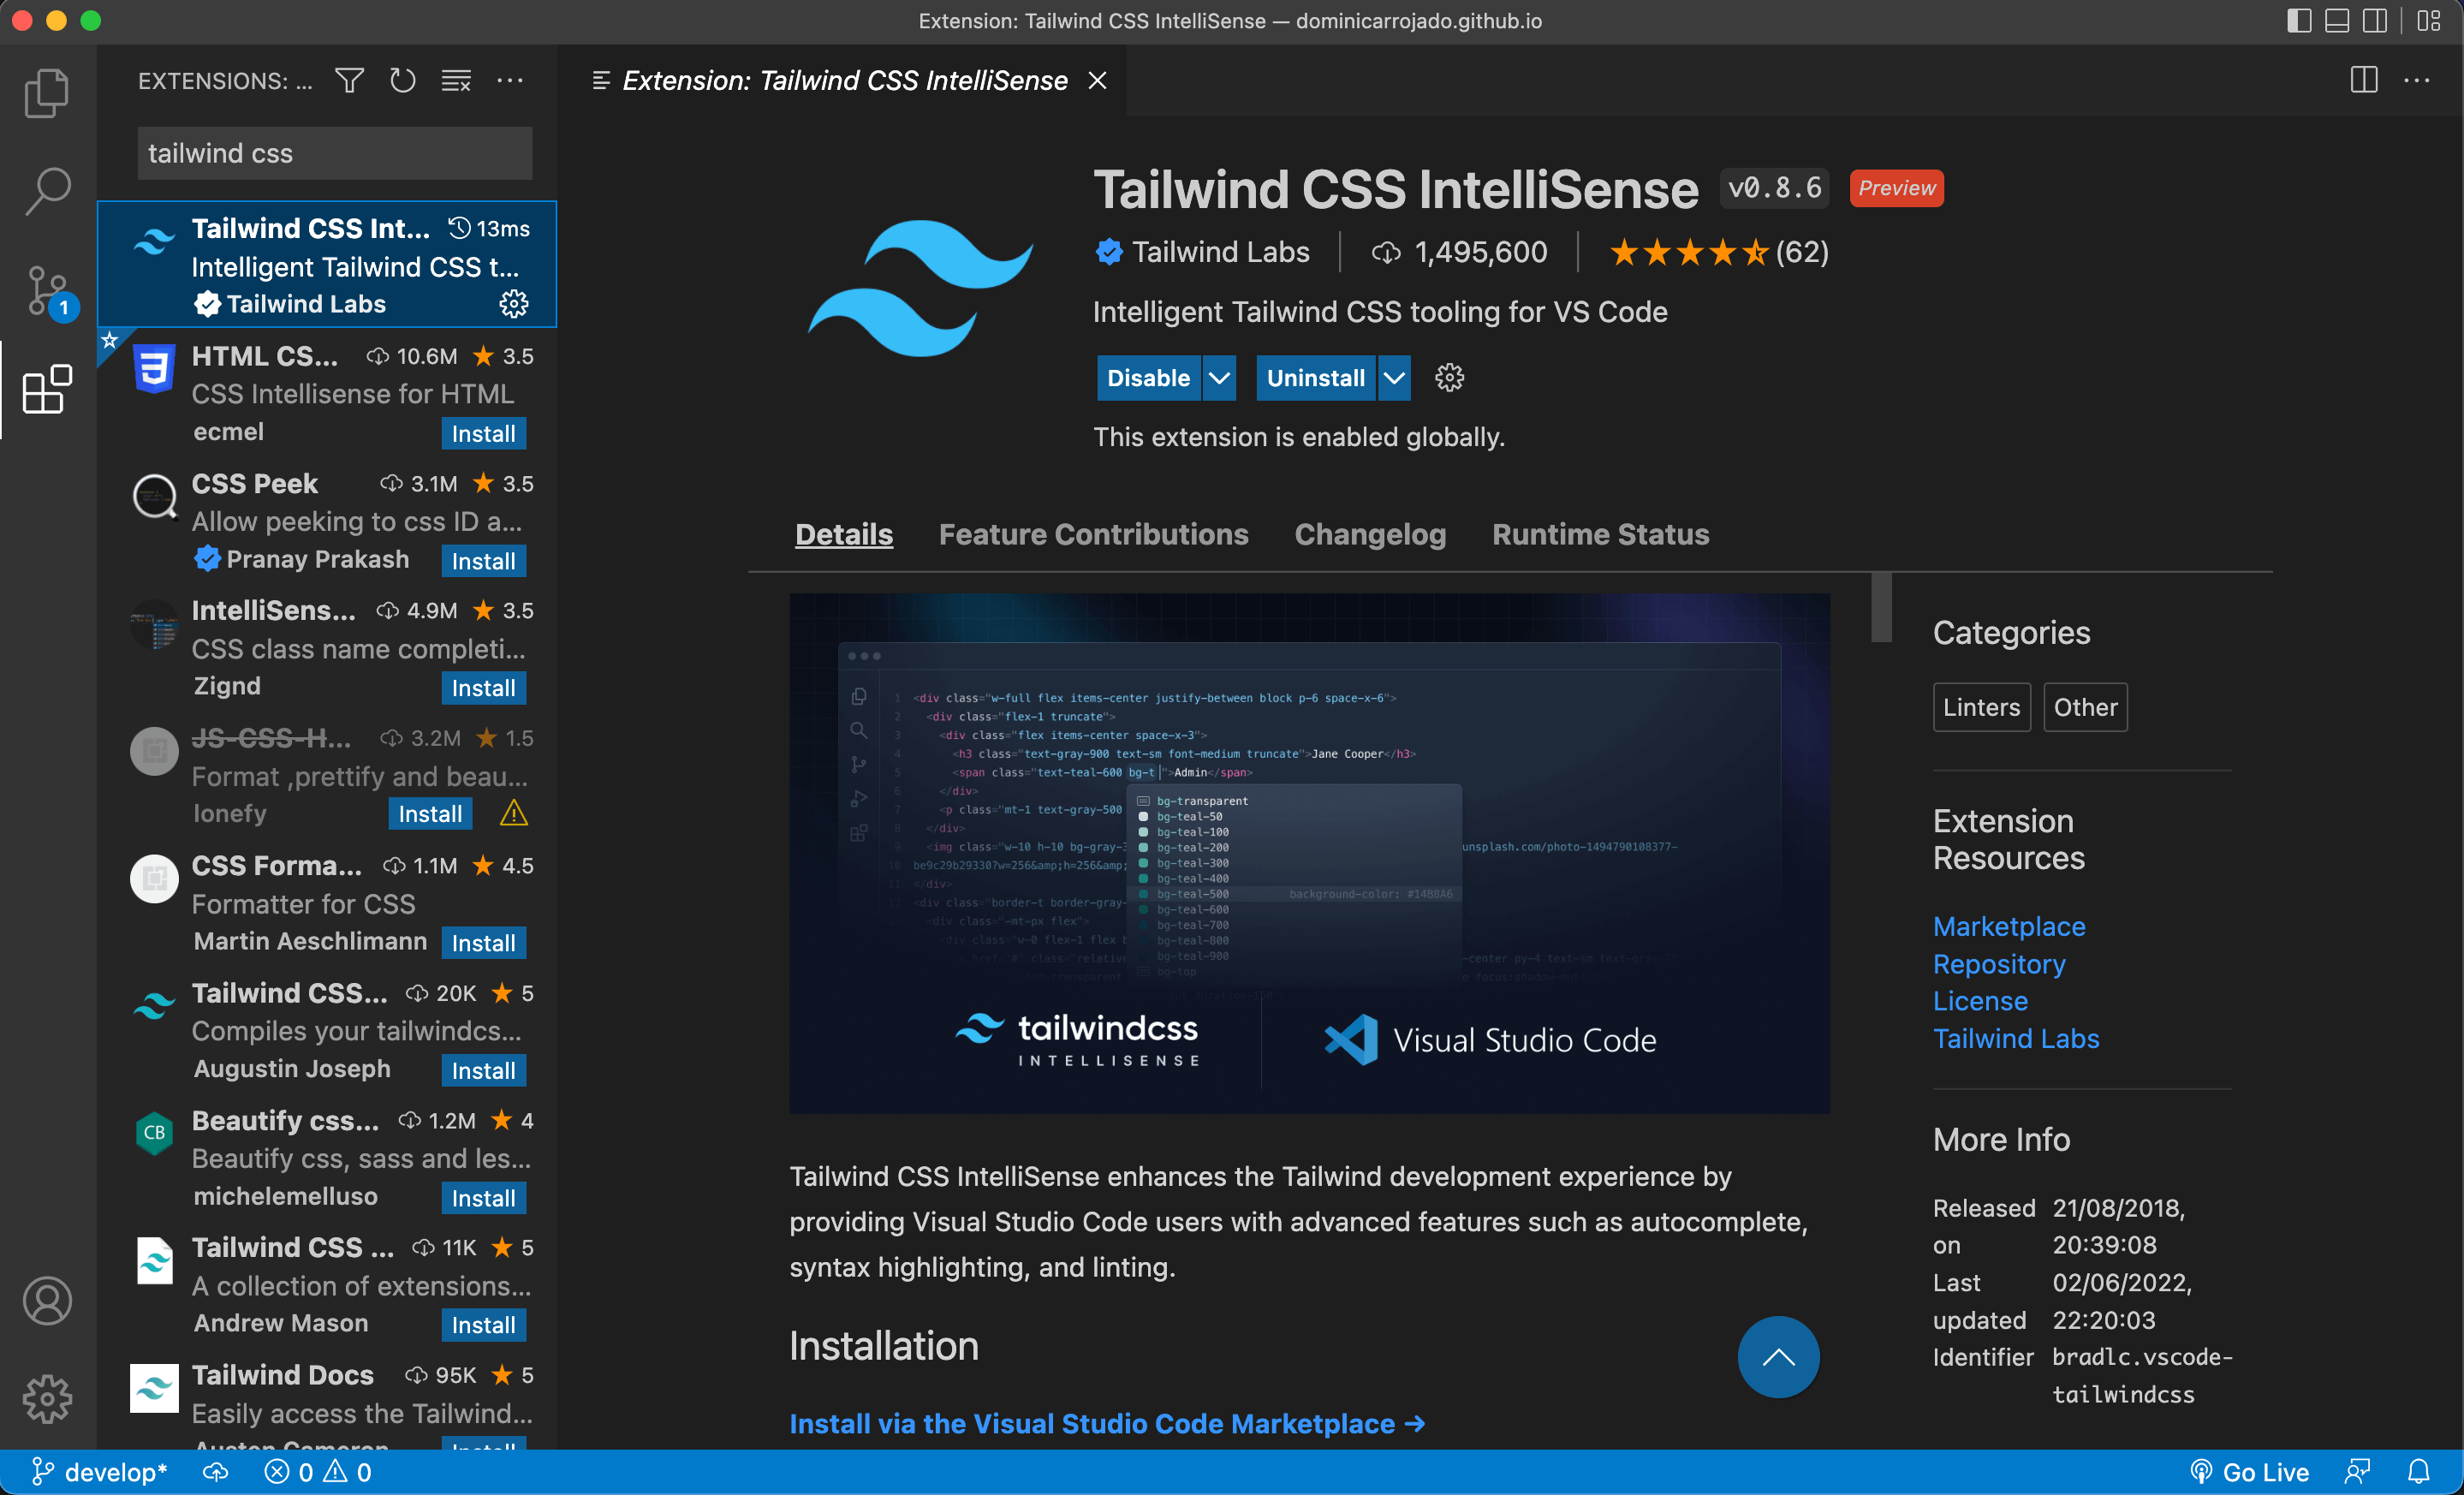
For a better development experience with TailwindCSS, look for "Tailwind CSS IntelliSense" in the "Extensions" tab of Visual Studio Code and install it. You can also install it via this link.
Set up Jest and React Testing Library
Jest and React Testing Library are frequently used together for Unit and Component Testing. Since the release of Next.js 12, Next.js now has built-in configuration for Jest.
To set up Jest, let's first install jest and its peer dependencies via yarn:
yarn add --dev jest jest-environment-jsdom @testing-library/react @testing-library/jest-dom
Create a jest.setup.js to include the custom jest matchers globally to test the state of the DOM.
// Optional: configure or set up a testing framework before each test.
// If you delete this file, remove `setupFilesAfterEnv` from `jest.config.js`

// Used for __tests__/testing-library.js
// Learn more: https://github.com/testing-library/jest-dom
import '@testing-library/jest-dom/extend-expect';
Next, create a jest.config.js file in the project's root directory and add the following:
const nextJest = require('next/jest');

const createJestConfig = nextJest({
  // Provide the path to your Next.js app to load next.config.js and .env files in your test environment
  dir: './',
});

// Add any custom config to be passed to Jest
const customJestConfig = {
  setupFilesAfterEnv: ['<rootDir>/jest.setup.js'],
  moduleDirectories: ['node_modules', '<rootDir>/'],
  testEnvironment: 'jest-environment-jsdom',
};

// createJestConfig is exported this way to ensure that next/jest can load the Next.js config which is async
module.exports = createJestConfig(customJestConfig);
Under the hood, next/jest is automatically configuring Jest for you, including:
- Setting up
transformusing SWC - Auto mocking stylesheets (
.css,.module.css, and their scss variants) and image imports - Loading
.env(and all variants) intoprocess.env - Ignoring
node_modulesfrom test resolving and transforms - Ignoring
.nextfrom test resolving - Loading
next.config.jsfor flags that enable SWC transforms
Now to complete the setup, let's add the scripts for running tests in package.json:
{
  ...
  "scripts": {
    ...
    "test": "jest --coverage",
    "test:watch": "jest --coverage --watch"
  },
  ...
}
--coverage indicates that test coverage information should be collected and reported in the output. It will generate a coverage directory after running all the tests.
Let's test one of the scripts here by creating a simple test for our Home page component in pages/__tests__/index.test.tsx
import { render } from '@testing-library/react';
import Home from '..';

describe('<Home />', () => {
  it('should render without errors', () => {
    const { container } = render(<Home />);

    expect(container).toBeInTheDocument();
  });
});
Once the file has been saved. Go to your terminal with the project's root directory as the location and run the following command:
yarn test
That should display the result and coverage of the test. Great!
You can also run yarn test:watch if you want to keep the local server running and listen to file changes which automatically re-runs the tests for you so you don't have to type and execute the test command again.
Add page extensions config
To collocate test files, generated files, or other files used by components in the pages directory, you can prefix the extensions with something like page.
Open next.config.js and add the pageExtensions config:
...
const nextConfig = {
  ...
  pageExtensions: ['page.tsx'],
};
...
Then rename the following files inside the pages folder to have a file extension that includes .page:
pages/_app.tsx->_app.page.tsx(required)pages/index.tsx->pages/index.page.tsx(required)pages/__tests__/index.page.test.tsx->pages/__tests__/index.page.test.tsx(optional, but just for convention)
Without this config, Next.js assumes every tsx/ts/jsx/js file in the pages directory is a page or API route, and may expose unintended routes vulnerable to denial of service attacks, or throw an error when building the production bundle.
Since you've renamed the Home page component, you'll have to update the code in pages/__tests__/index.page.test.tsx to fix the import:
...
import Home from '../index.page';

...
Set up GitHub Actions CI/CD workflow and automatically deploy to GitHub Pages
GitHub Pages is a static site hosting service that takes HTML, CSS, and JavaScript files straight from a repository on GitHub, optionally runs the files through a build process, and publishes a website. You can host your site on GitHub's github.io domain or your own custom domain. It's free to use as long as your repository is set to public.
With GitHub Actions, it's easier than ever to bring CI/CD directly into your workflow right from your repository.
I am actually using these two technologies to deploy this tech blog website of mine that you're currently looking at.
To get started, delete the pages/api folder since we'll only be deploying the static files of our Next.js project.
Then let's add the next export into the scripts under package.json. next export allows us to export our Next.js application to static HTML, which can be run standalone without the need of a Node.js server. This script will generate an out directory. The out directory can be served by any static hosting service or CDN.
Update package.json file to add the deployment scripts:
{
  ...
  "scripts": {
    ...
    "export": "next export"
  },
  ...
}
GitHub Pages will deploy our build directory in this URL format https://{YOUR_GITHUB_USERNAME}.github.io/{YOUR_REPOSITORY_NAME}/. So if our repository name is my-app, then it will be deployed in this URL https://{YOUR_GITHUB_USERNAME}.github.io/my-app/. GitHub Pages will append a trailing slash at the end of the URL. To deploy a Next.js application under a sub-path of a domain we can use the basePath config option. Also, to add trailing slash when redirecting to other pages, we can use trailingSlash config option. With these, let's update next.config.js with the following code:
...
const isProd = process.env.NODE_ENV === 'production';

const nextConfig = {
  ...
  trailingSlash: true,
  basePath: isProd ? '/my-app' : '',
};
...
Along with this change, we need to create a utility function to get the correct URL for the assets such as images in both development and production. Create lib/assets.ts and add the following code:
import { MAIN_URL } from './constants';

export function getAssetUrl(path: string) {
  return process.env.NODE_ENV === 'production'
    ? `${MAIN_URL}${path}`
    : `/${path}`;
}
Then create lib/constants.ts to store our static variables such as the main url:
export const MAIN_ORIGIN = 'https://{YOUR_GITHUB_USERNAME}.github.io';
export const MAIN_PATH = '/my-app/';
export const MAIN_URL = `${MAIN_ORIGIN}${MAIN_PATH}`;
After that, we can use the utility function we just created to get the image URL for the vercel.svg depending on the environment:
...
import { getAssetUrl } from '../lib/assets';

const Home: NextPage = () => {
  return (
    <div className="px-8">
      ...
      <footer className="flex flex-1 justify-center items-center py-8 border-t border-slate-200">
        <a
          ...
        >
          ...
          <span className="h-[1em] ml-2">
            <img
              src={getAssetUrl('vercel.svg')}
              ...
            />
          </span>
        </a>
      </footer>
    </div>
  );
};
...
Now, create a file .github/workflows/ci.yml so we can configure a workflow for GitHub Actions. Workflow files use YAML syntax, and must have either a .yml or .yaml file extension. If you're new to YAML and want to learn more, see "Learn YAML in Y minutes". We must store workflow files in the .github/workflows directory of our repository. Let's add the following code for our workflow:
name: CI/CD

on:
  push:
    branches: [main]

permissions:
  contents: write

jobs:
  build:
    runs-on: ubuntu-latest

    strategy:
      matrix:
        node-version: [16.x]

    steps:
      - name: Checkout repository
        uses: actions/checkout@v3

      - name: Set up Node.js ${{ matrix.node-version }}
        uses: actions/setup-node@v3
        with:
          node-version: ${{ matrix.node-version }}

      - name: Install dependencies
        run: yarn install --frozen-lockfile

      - name: ESLint check
        run: yarn lint

      - name: Run the tests
        run: yarn test

      - name: Upload coverage to Codecov
        uses: codecov/codecov-action@v3

      - name: Build
        run: yarn build

      - name: Generate static files
        run: yarn export

      - name: Deploy
        uses: JamesIves/github-pages-deploy-action@v4
        with:
          folder: out
Let me explain to you each part of this workflow configuration. First we need to name our workflow, here we used CI/CD as the value for the name:
name: CI/CD
To automatically trigger a workflow, use on to define which events can cause the workflow to run. To learn more about the on syntax, click here. In our current configuration, the workflow will run when a push is made to the main branch of the workflow's repository:
on:
  push:
    branches: [main]
We can use permissions to modify the default permissions granted to the GITHUB_TOKEN, adding or removing access as required, so that we only allow the minimum required access. Since we are using GitHub pages, it pushes the build directory changes to the gh-pages branch, we will need to grant our workflow the write permission:
permissions:
  contents: write
We use jobs.<job_id>.runs-on to define the type of machine to run the job on. To learn more about the jobs.<job_id>.runs-on syntax, click here.
jobs:
  build:
    runs-on: ubuntu-latest
We use jobs.<job_id>.strategy to use a matrix strategy for our jobs. A matrix strategy lets us use variables in a single job definition to automatically create multiple job runs that are based on the combinations of the variables. For example, we can use a matrix strategy to test our code in multiple versions of a language or on multiple operating systems. For more information about the jobs.<job_id>.strategy syntax, see this. Since Next.js is based on Node.js language, we added the version of Node.js in our configuration using jobs.<job_id>.strategy:
jobs:
  build:
    ...
    strategy:
      matrix:
        node-version: [16.x]
A job contains a sequence of tasks called steps. Steps can run commands, run setup tasks, or run an action in your repository, a public repository, or an action published in a Docker registry. Not all steps run actions, but all actions run as a step. Each step runs in its own process in the runner environment and has access to the workspace and filesystem. Because steps run in their own process, changes to environment variables are not preserved between steps. GitHub provides built-in steps to set up and complete a job. For more information about steps, see this.
Our first step is to checkout to our repository. It is possible using the actions/checkout@v3 from the GitHub Actions Marketplace.
jobs:
  build:
    ...
    steps:
      - name: Checkout repository
        uses: actions/checkout@v3
Then second step is to set up Node.js using the version we defined in strategy:
jobs:
  build:
    ...
    steps:
      ...
      - name: Set up Node.js ${{ matrix.node-version }}
        uses: actions/setup-node@v3
        with:
          node-version: ${{ matrix.node-version }}
These first two steps are pretty standard for Node.js projects such as Next.js. With these, we can install the npm package dependencies and run scripts in our package.json.
jobs:
  build:
    ...
    steps:
      ...
      - name: Install dependencies
        run: yarn install --frozen-lockfile

      - name: ESLint check
        run: yarn lint

      - name: Run the tests
        run: yarn test
If you remember earlier, when we run our test using yarn test, it generates a coverage directory. We can actually upload the coverage to a service called Codecov which I've been using for my projects for a while now. Codecov makes it easy to see absolute coverage and coverage changes overlayed with your source code, making it even easier to identify needed test areas. It also provides a summary of coverage information directly in our workflow so that we can add and update tests quickly and effectively. They also provide a badge we can add in our README.md which is a live icon that is displayed within our code host that gives you a glance into the status of your project's percentage of code coverage. They already created a GitHub Action to easily integrate it with our workflow:
jobs:
  build:
    ...
    steps:
      ...
      - name: Upload coverage to Codecov
        uses: codecov/codecov-action@v3
After running the lints and tests, the next step is to build and export our Next.js application:
jobs:
  build:
    ...
    steps:
      ...
      - name: Build
        run: yarn build

      - name: Generate static files
        run: yarn export
Finally, we deploy it. We're in luck because someone has already created a GitHub Action for GitHub Pages to easily integrate it within our workflow:
jobs:
  build:
    ...
    steps:
      ...
      - name: Deploy
        uses: JamesIves/github-pages-deploy-action@v4
        with:
          folder: out
Now that's all we need for our GitHub Action CI/CD workflow. Let's test whether this is working as expected. We will need to add our locally hosted code to GitHub. Here's how you can do it. Once you have the repository already set up in GitHub, you can push the code to GitHub with the following commands:
git init
git add README.md
git commit -m "first commit"
git branch -M main
git remote add origin git@github.com:YOUR_GITHUB_USERNAME/my-app.git
git push -u origin main
Once you push your changes, it will trigger the GitHub Actions workflow. You can check its progress on your repository. You can type the link in your browser https://github.com/YOUR_GITHUB_USERNAME/my-app/actions and replace YOUR_GITHUB_USERNAME with your GitHub username.
It will take a few minutes to build and you should see something like on the page:
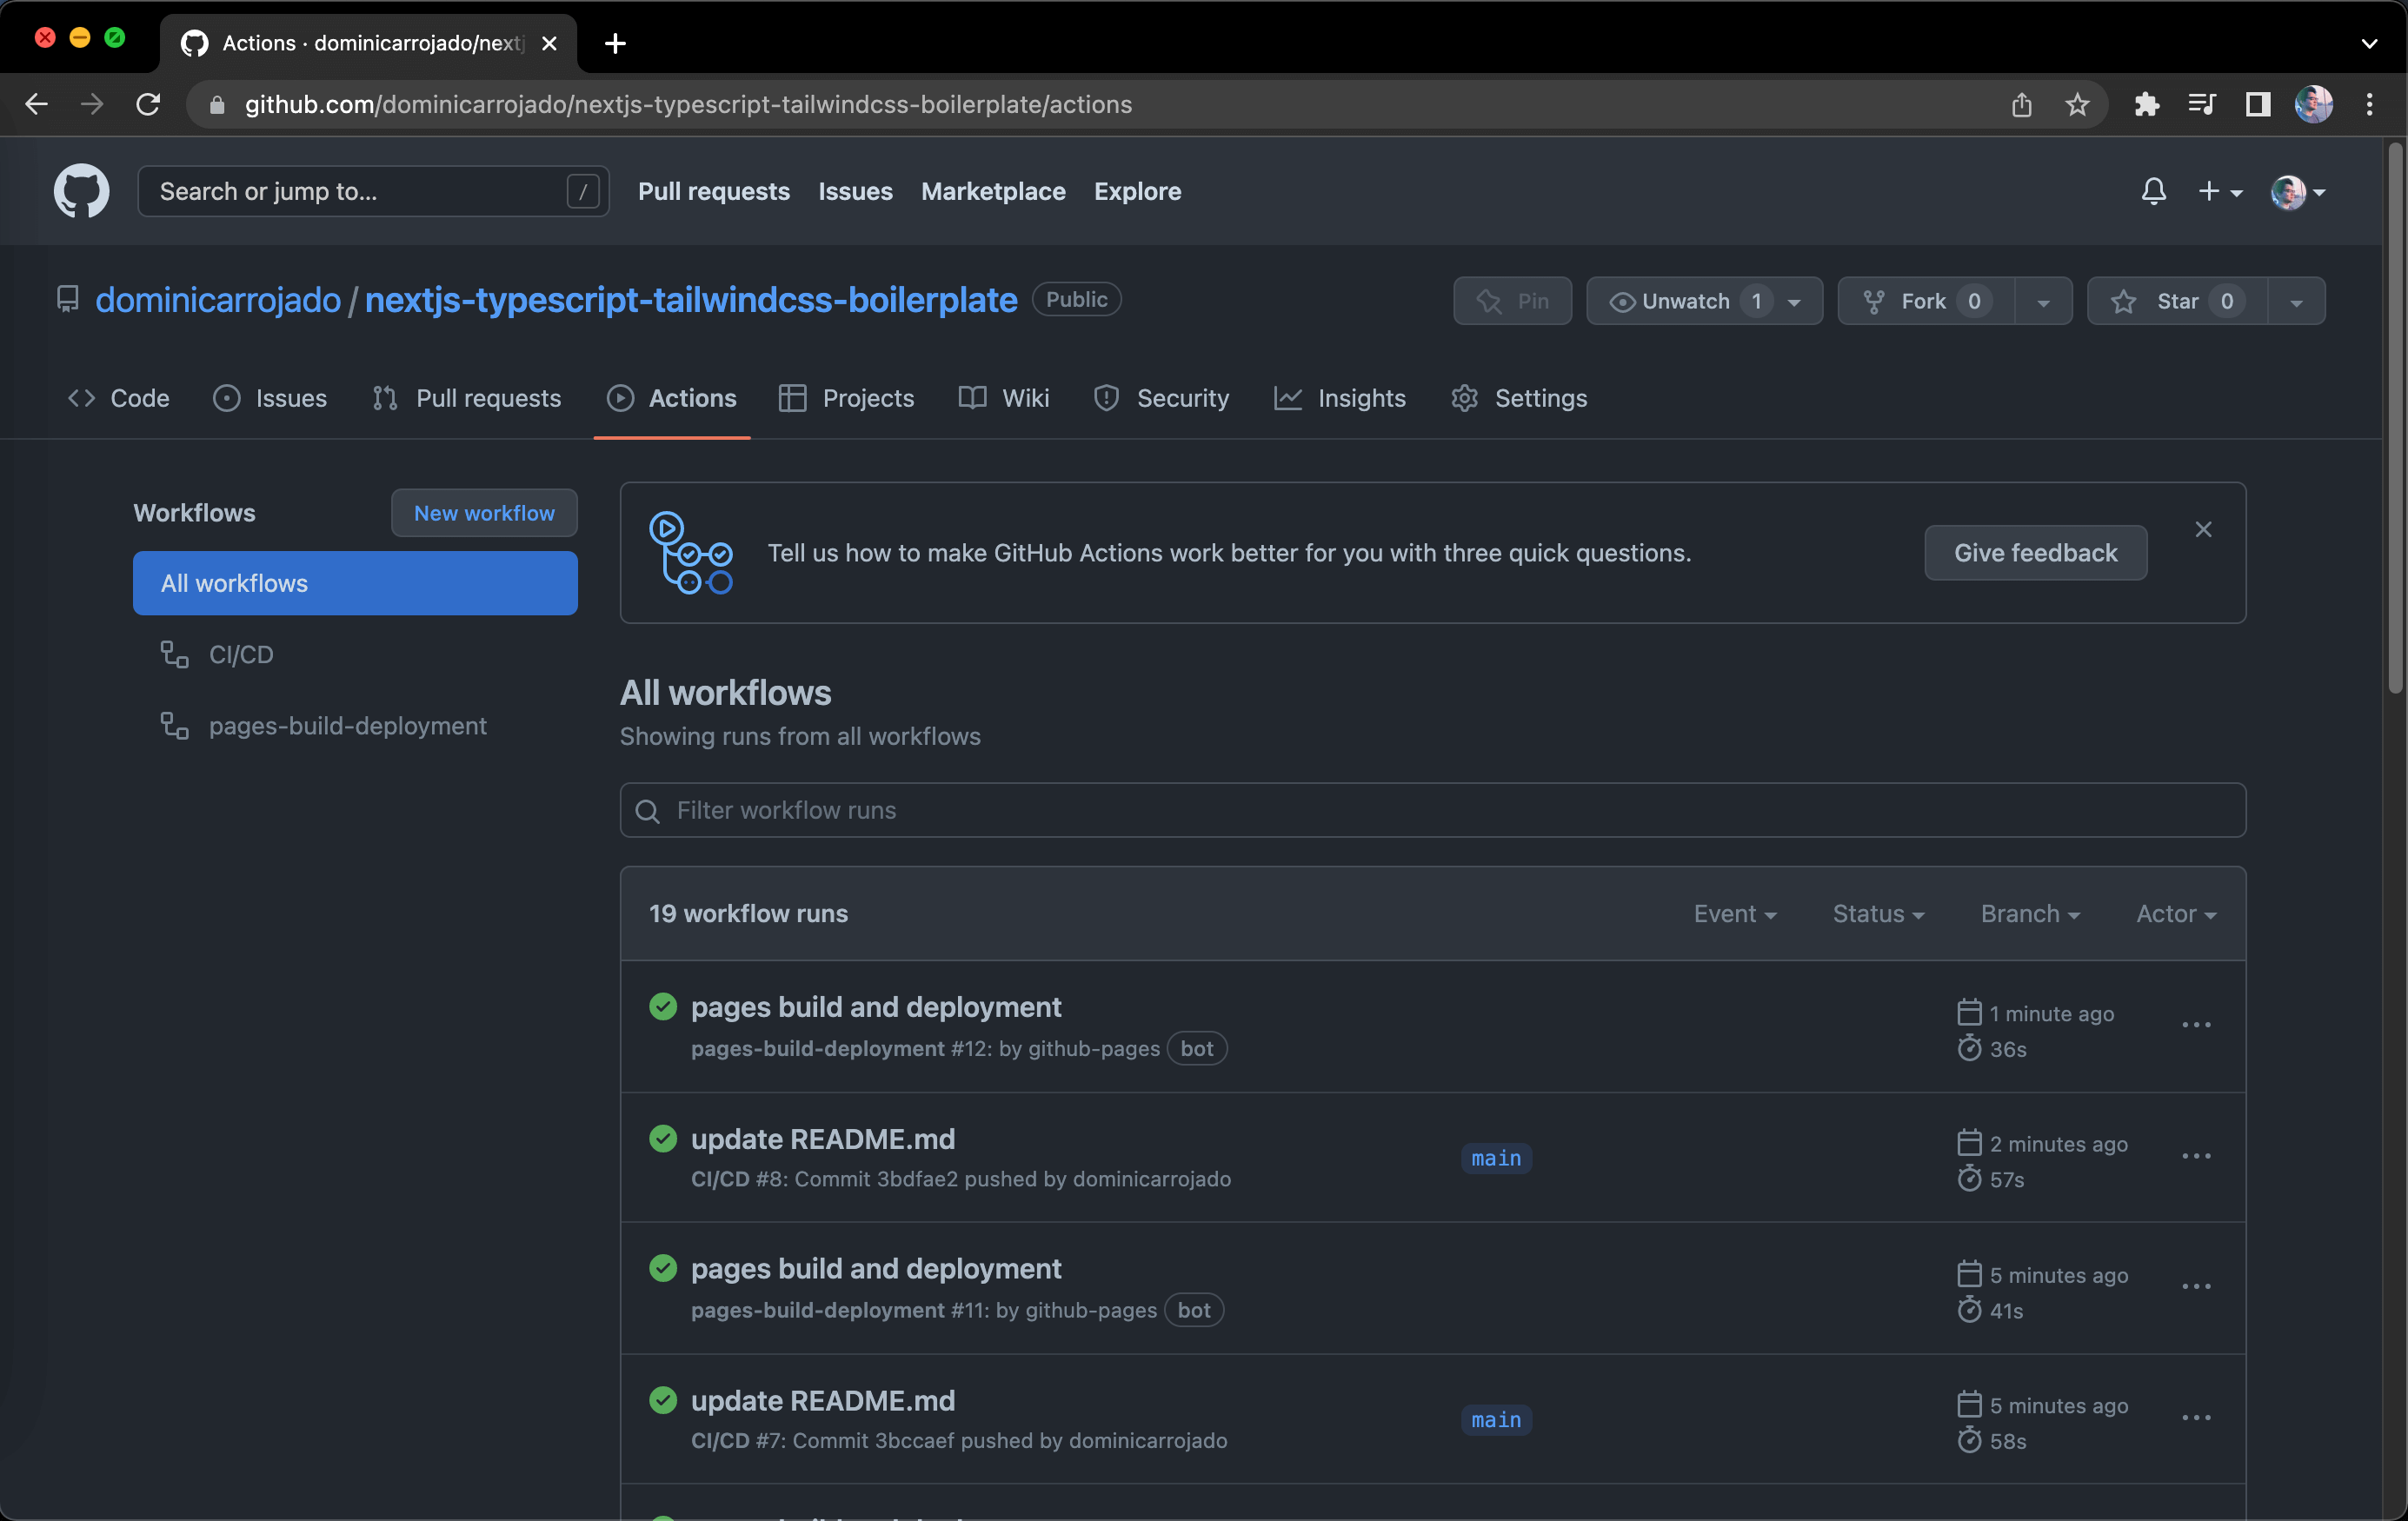
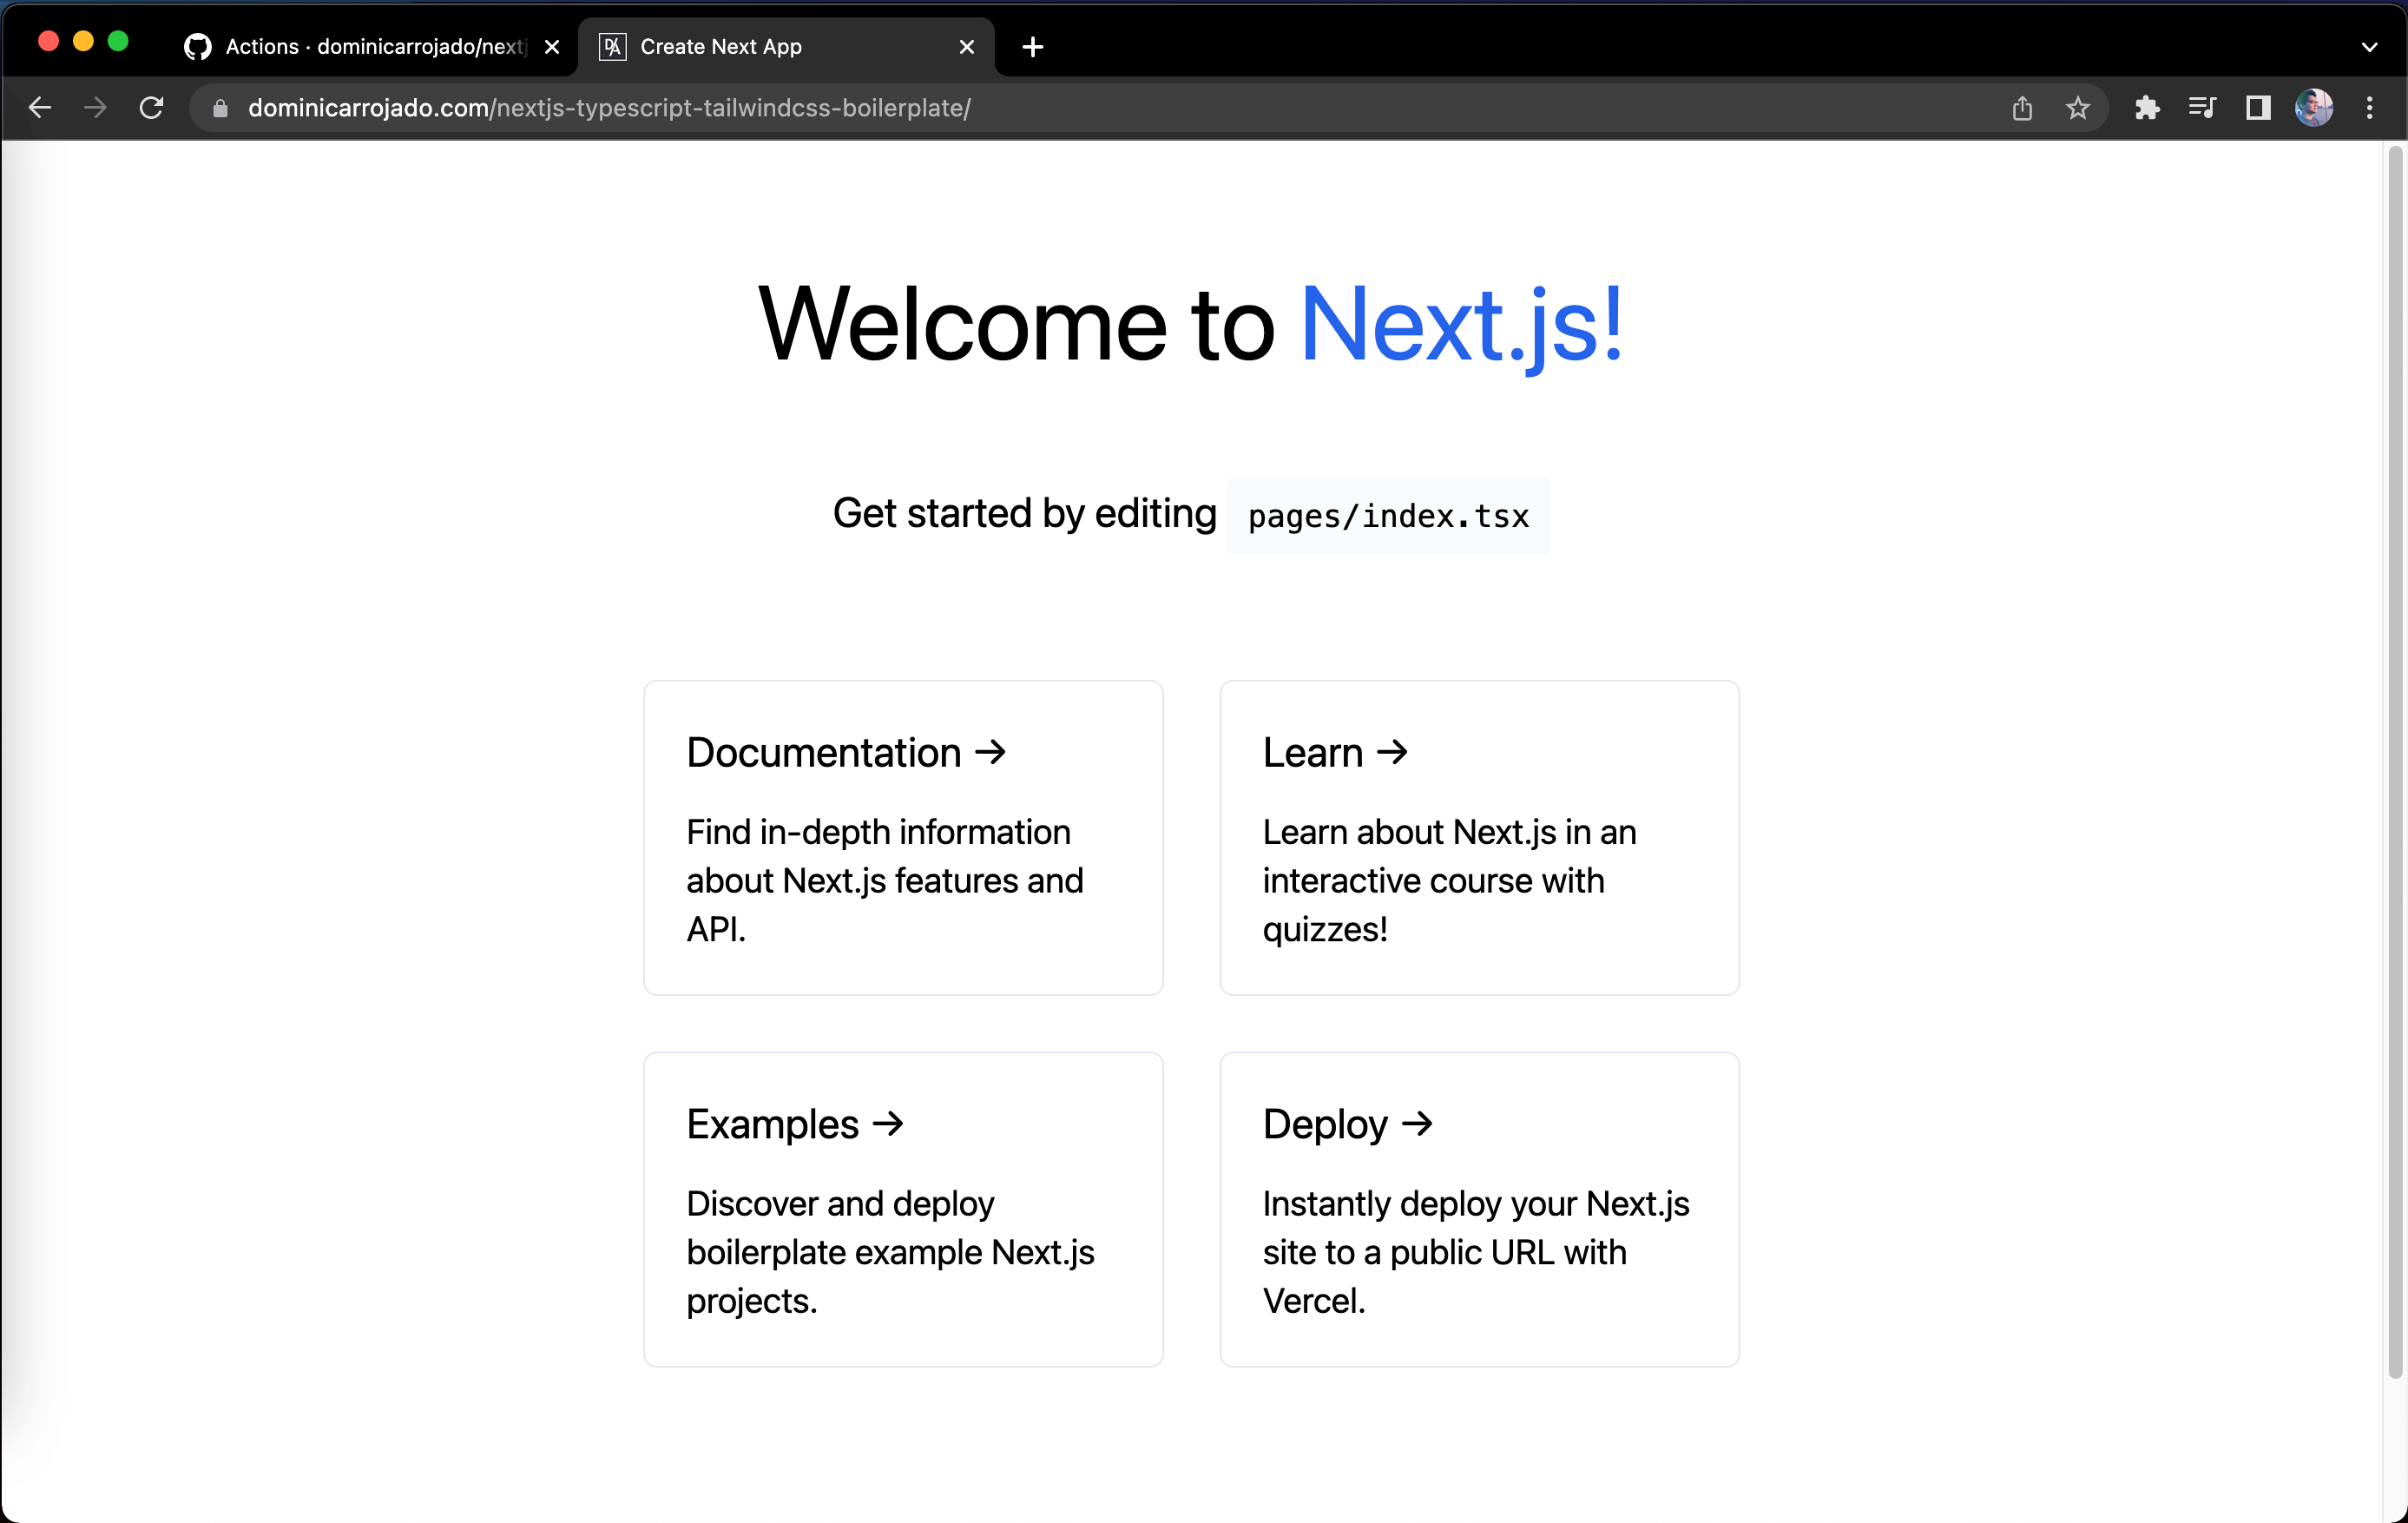
When we have the green tick or check icon for pages build and deployment, that means our Create Next App website has been successfully deployed on GitHub Pages. Open your browser and visit the URL https://{YOUR_GITHUB_USERNAME}.github.io/my-app/. You should see something like this:
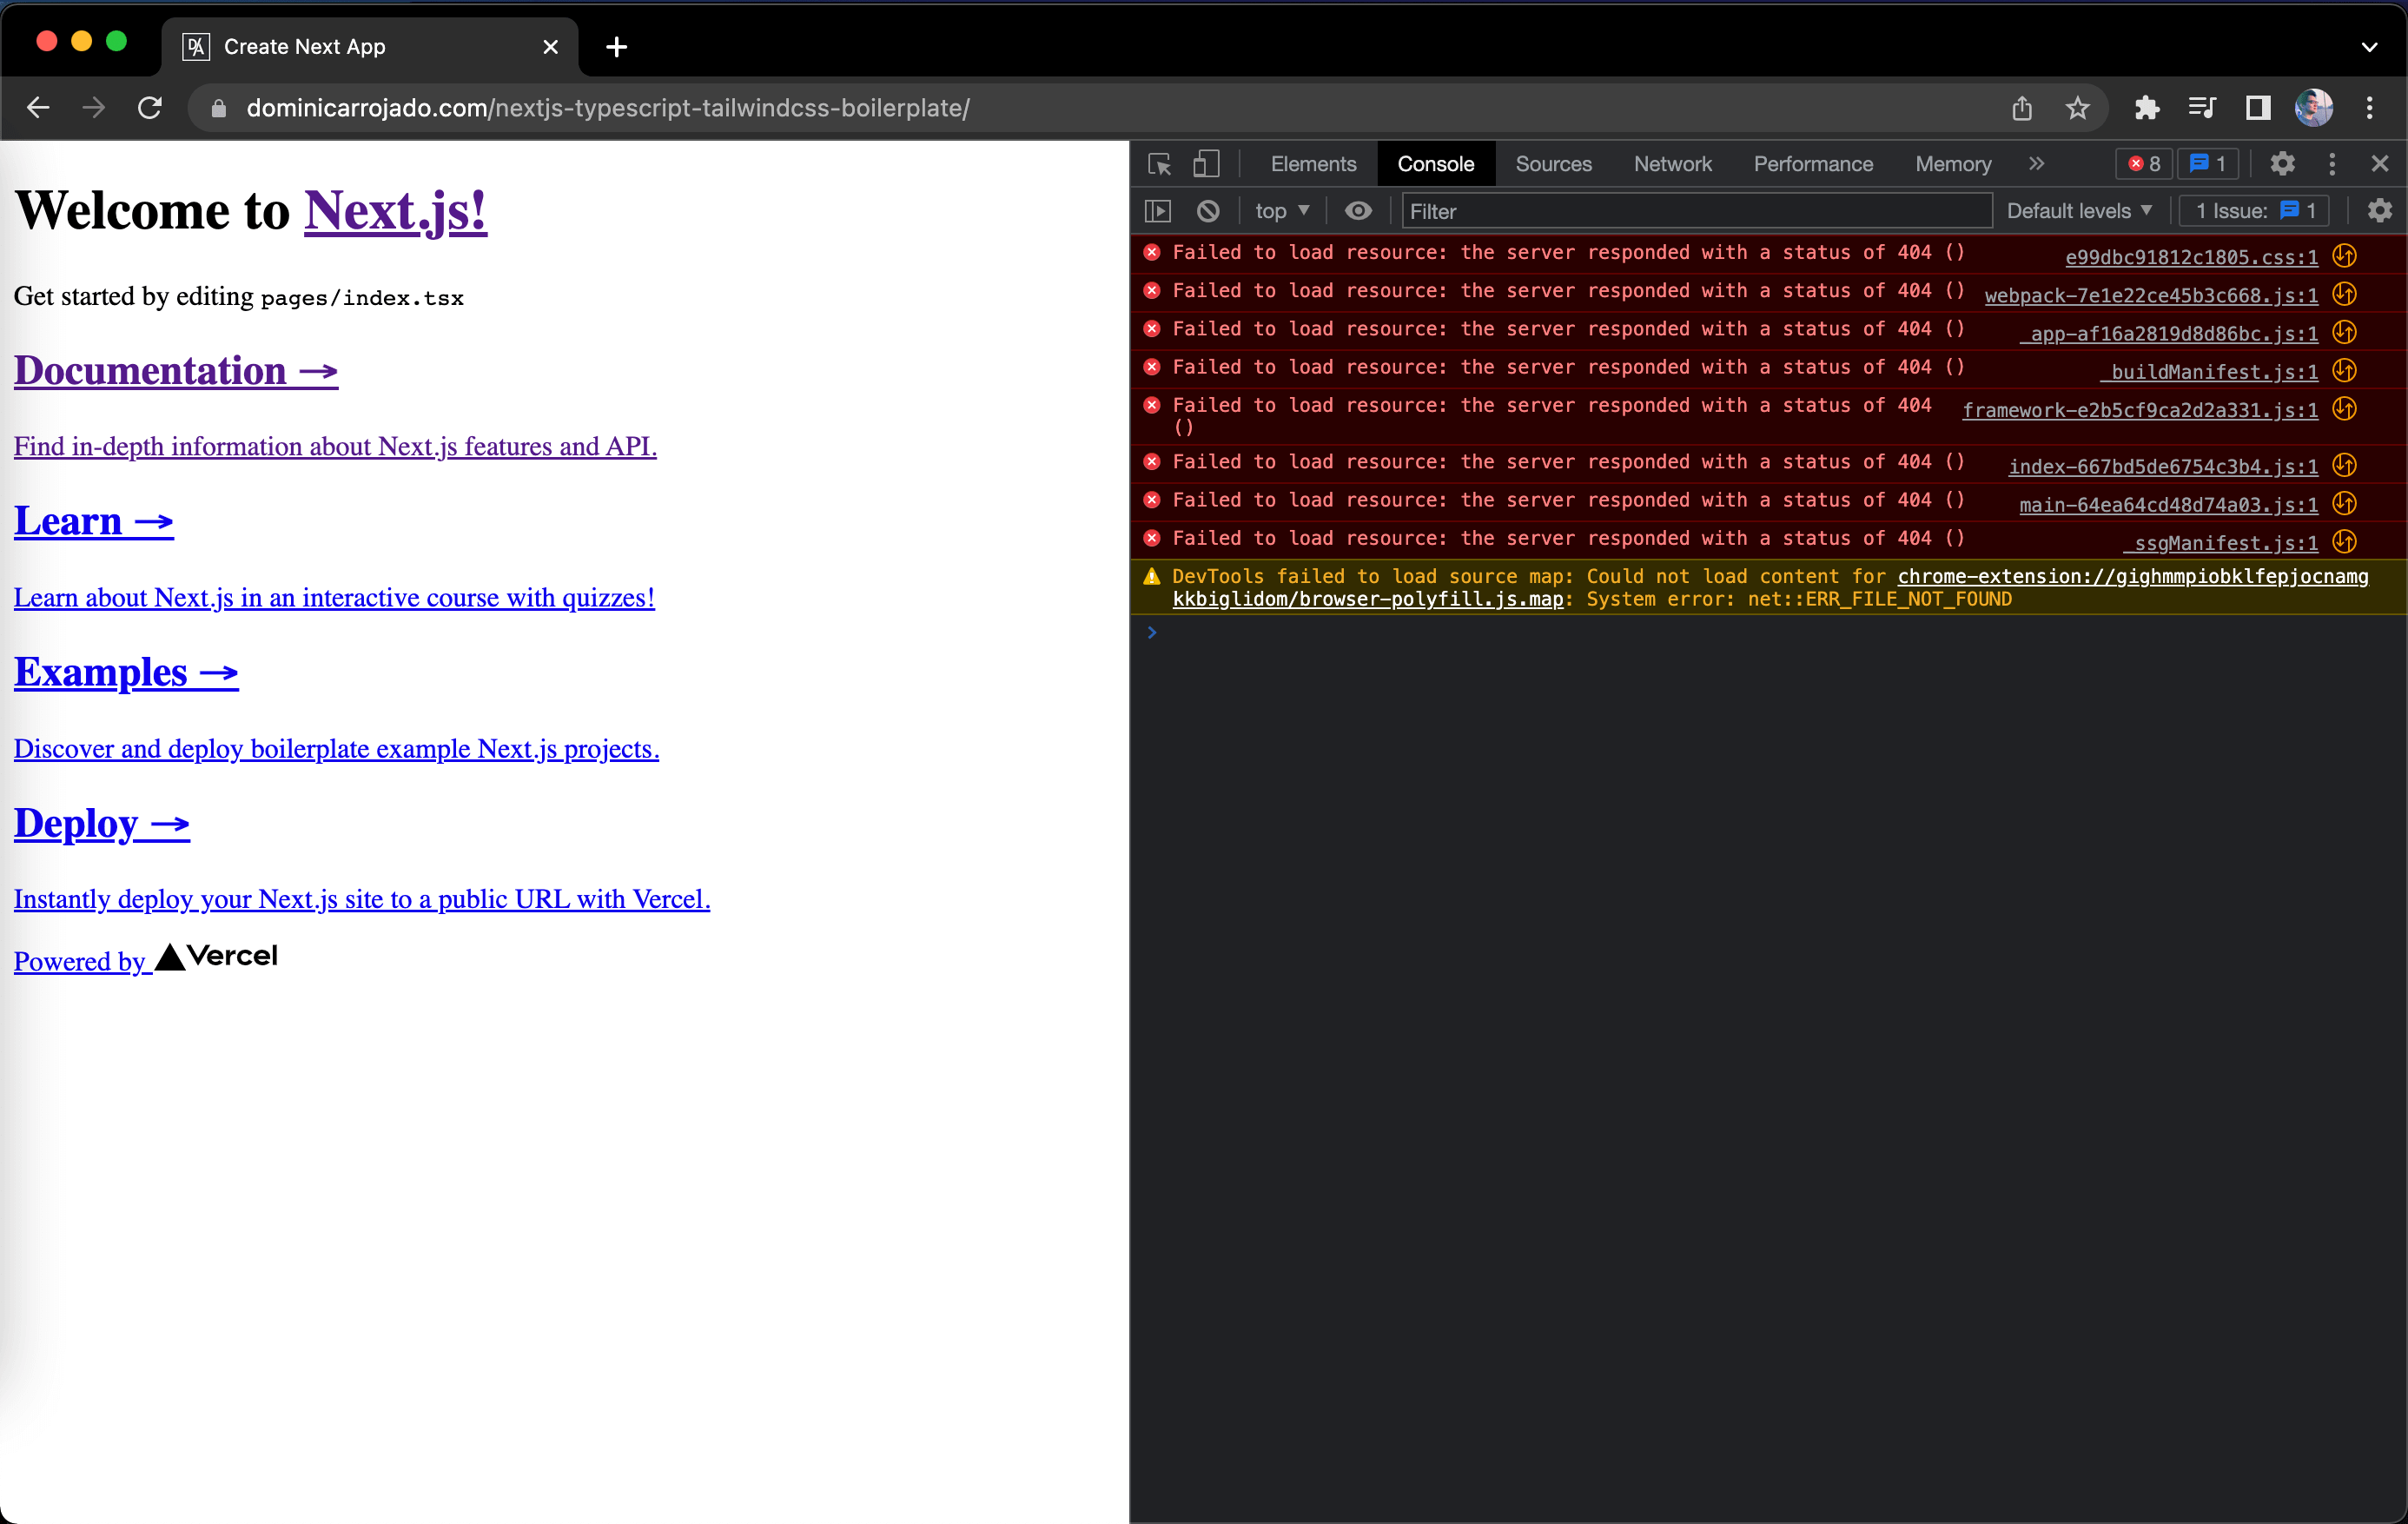
Yes, it doesn't look right and most of the assets are returning 404 or Not Found errors. Why is this happening? That's because GitHub pages by default goes to Jekyll processing and files or directories with underscores (_) are considered by Jekyll to be special resources and does not copy them to the final site and the output of Next.js build have the assets inside the _next/static directory.
To fix this, we can follow the advice from GitHub here.
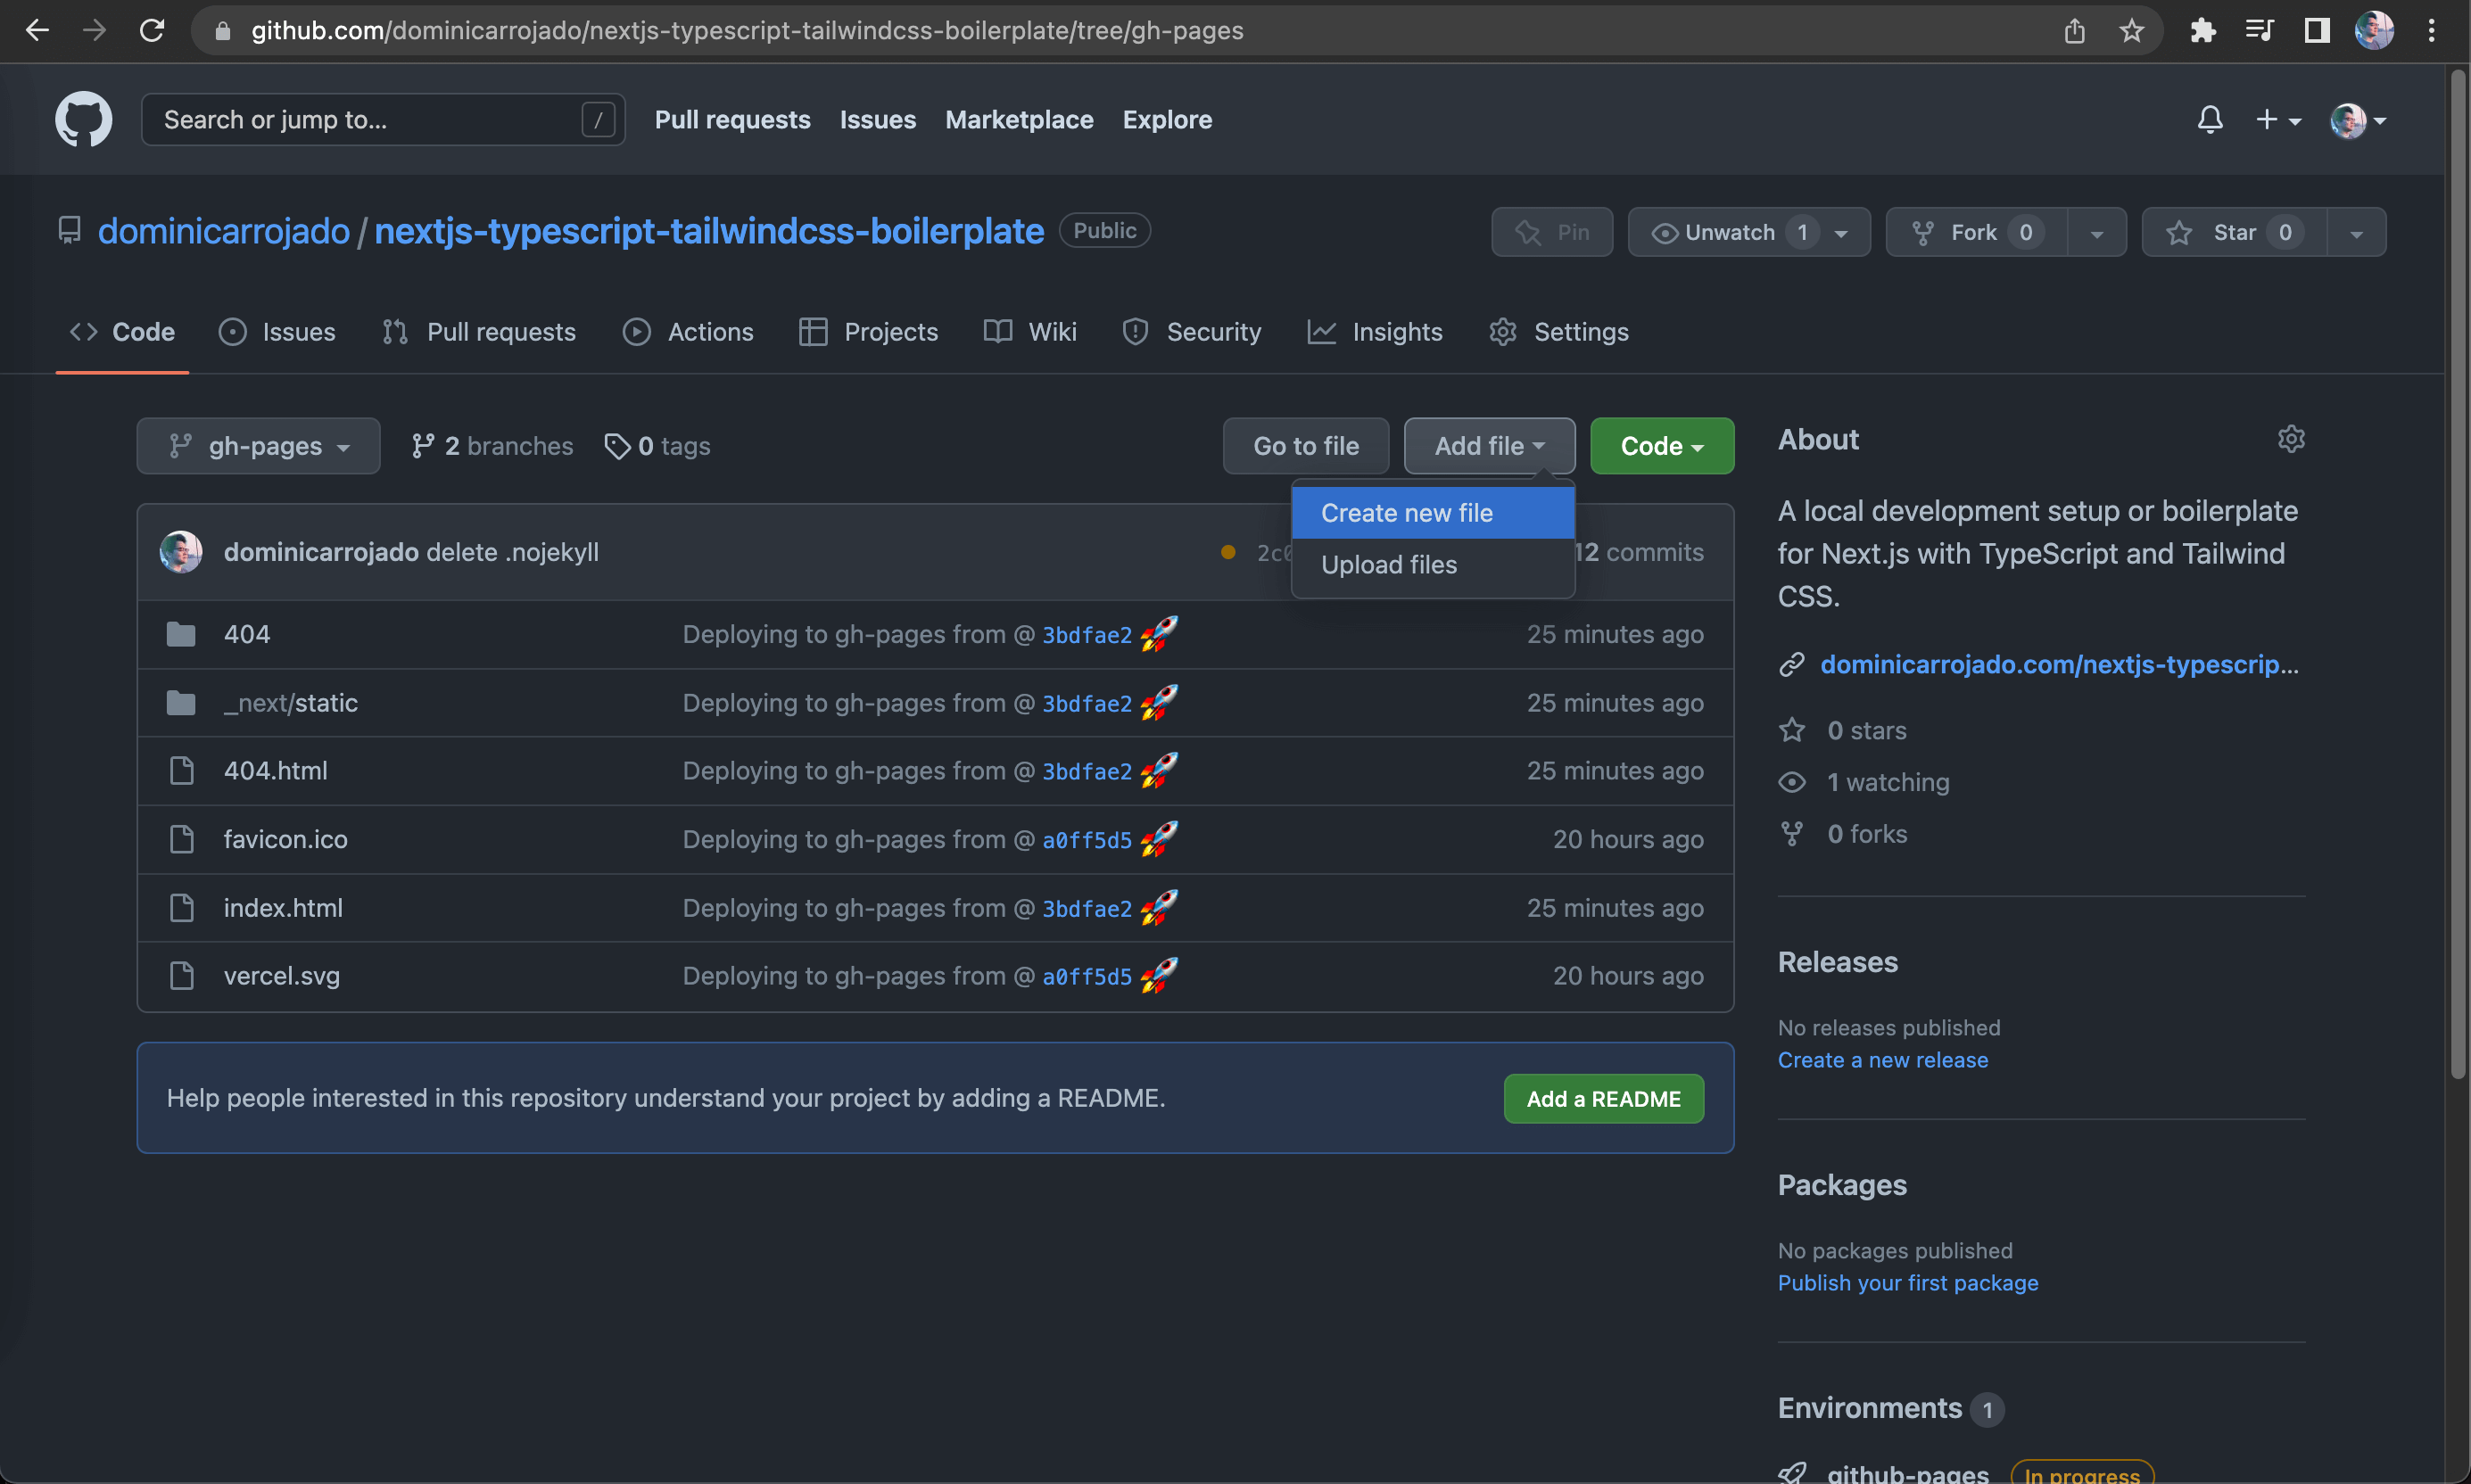
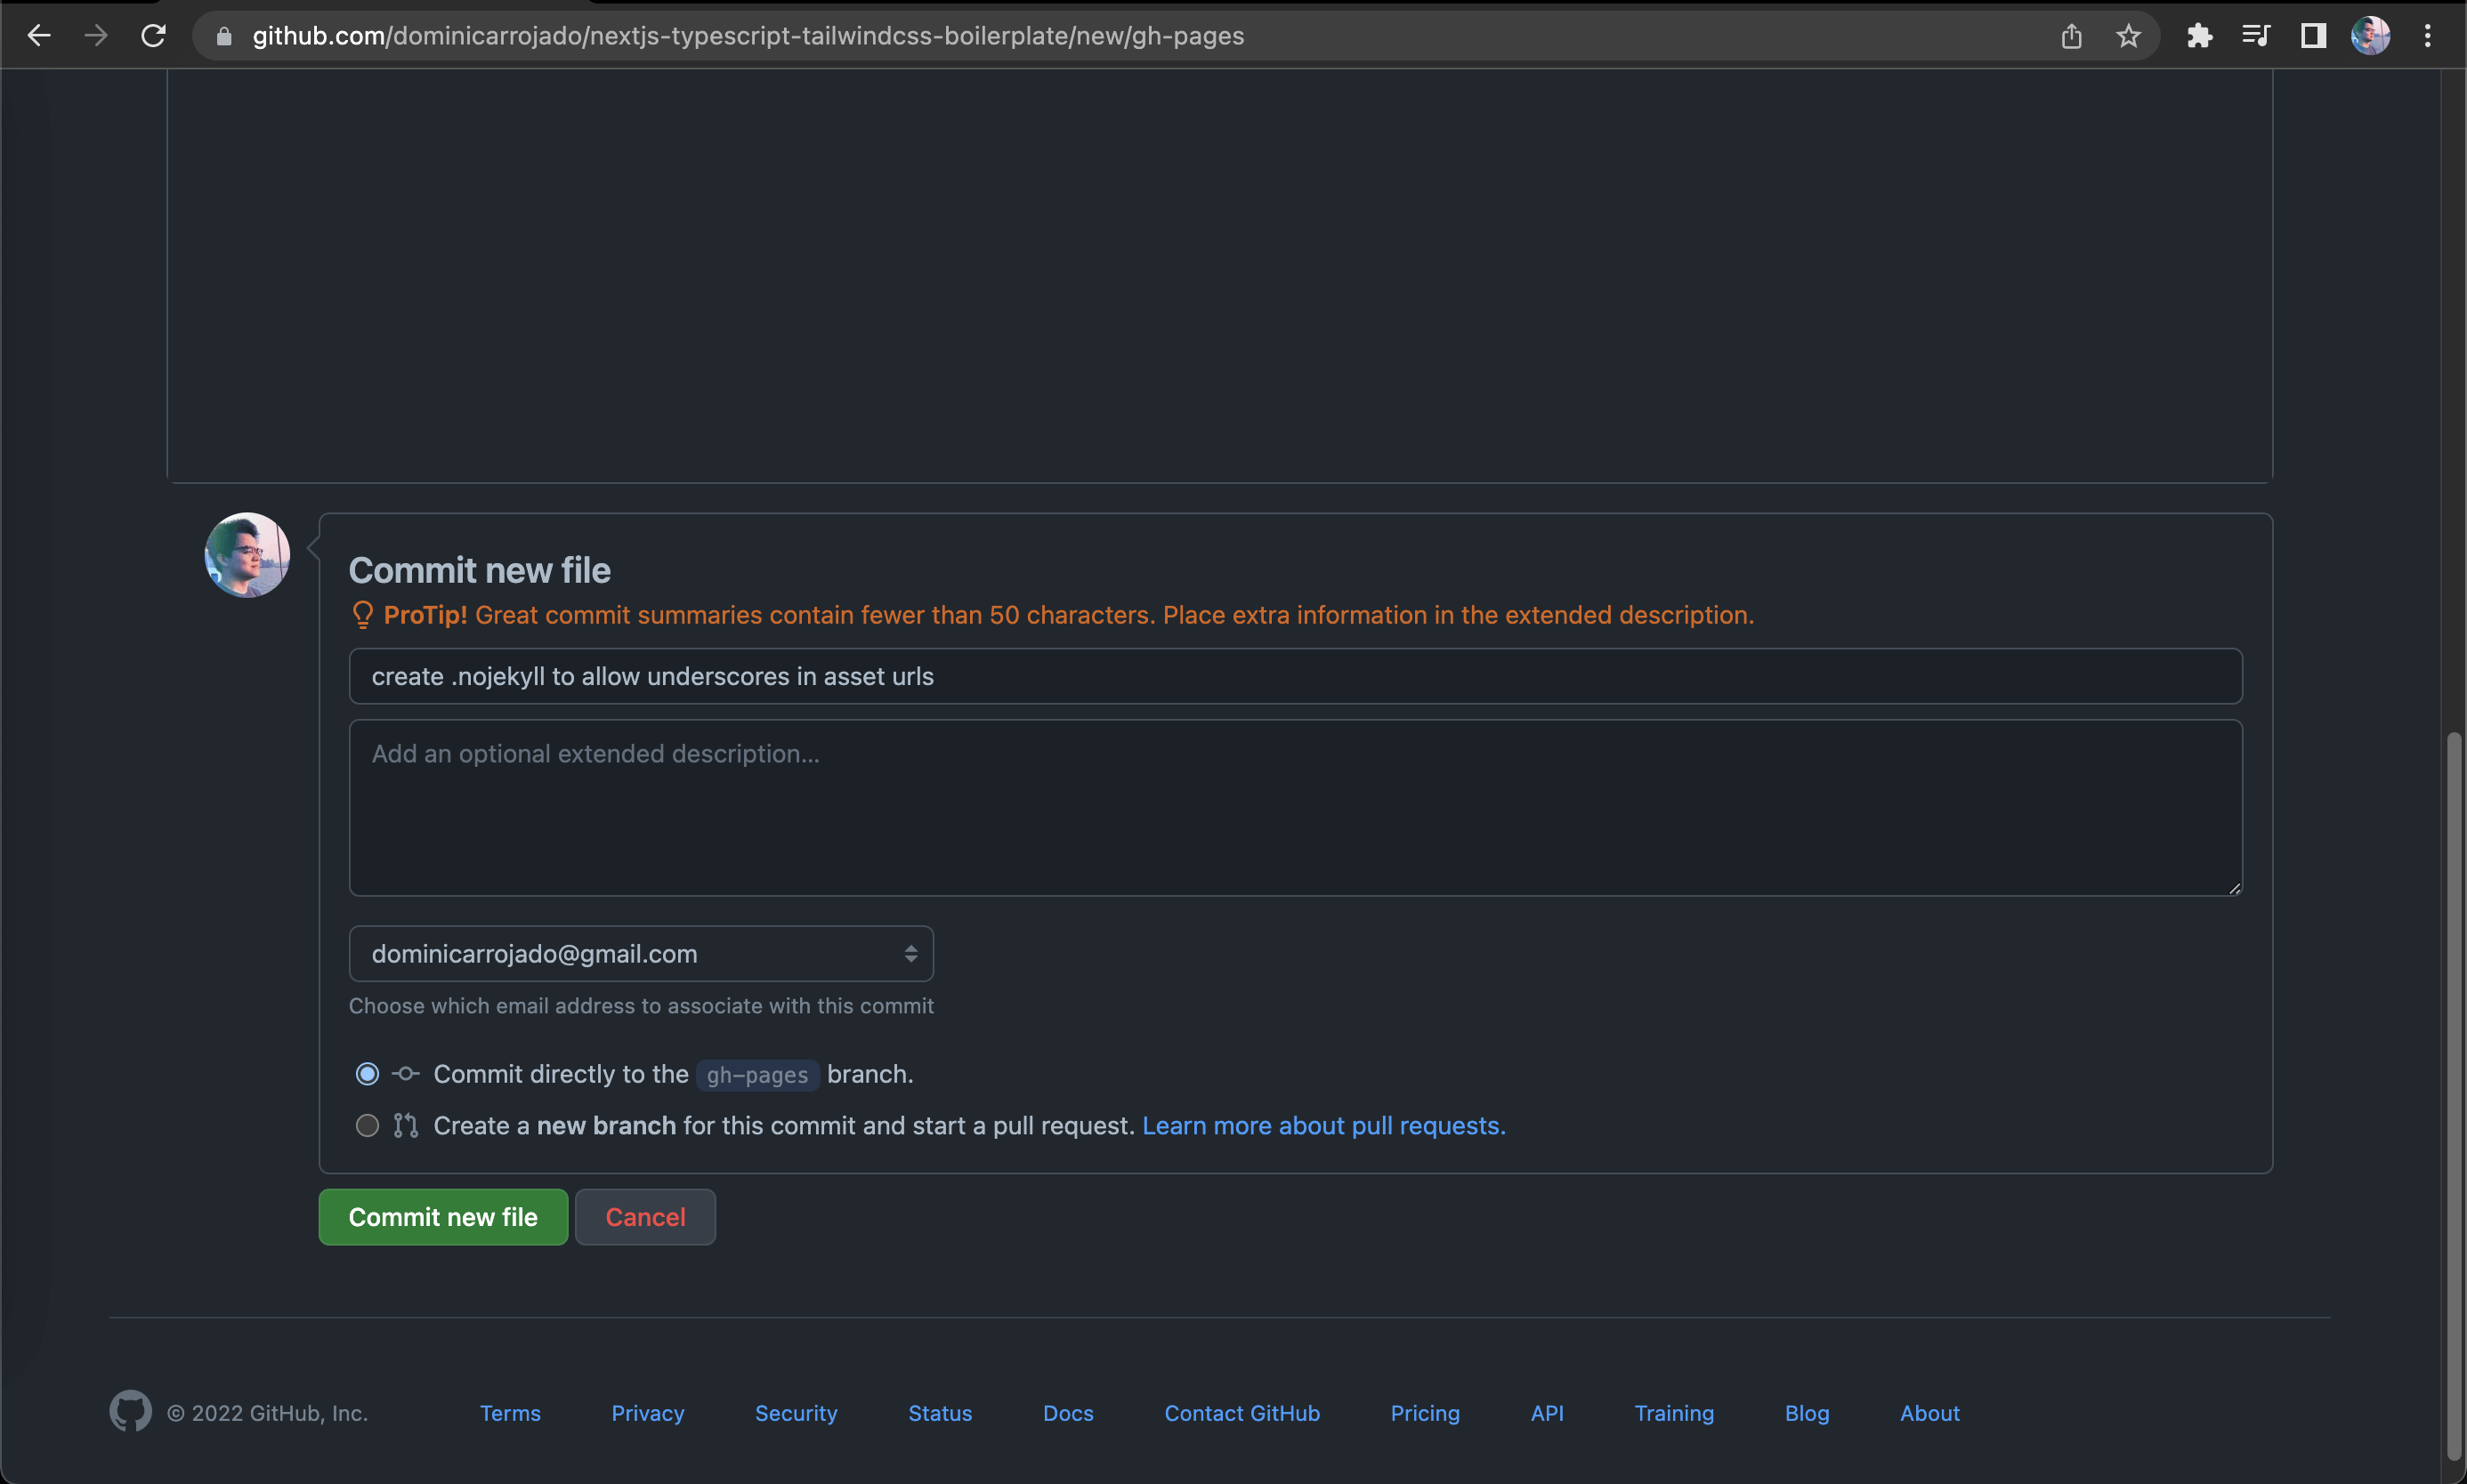
Simple switch to the gh-pages branch of your repository in the GitHub website and click on "Add file" button then "Create new file":
Then name the file .nojekyll:
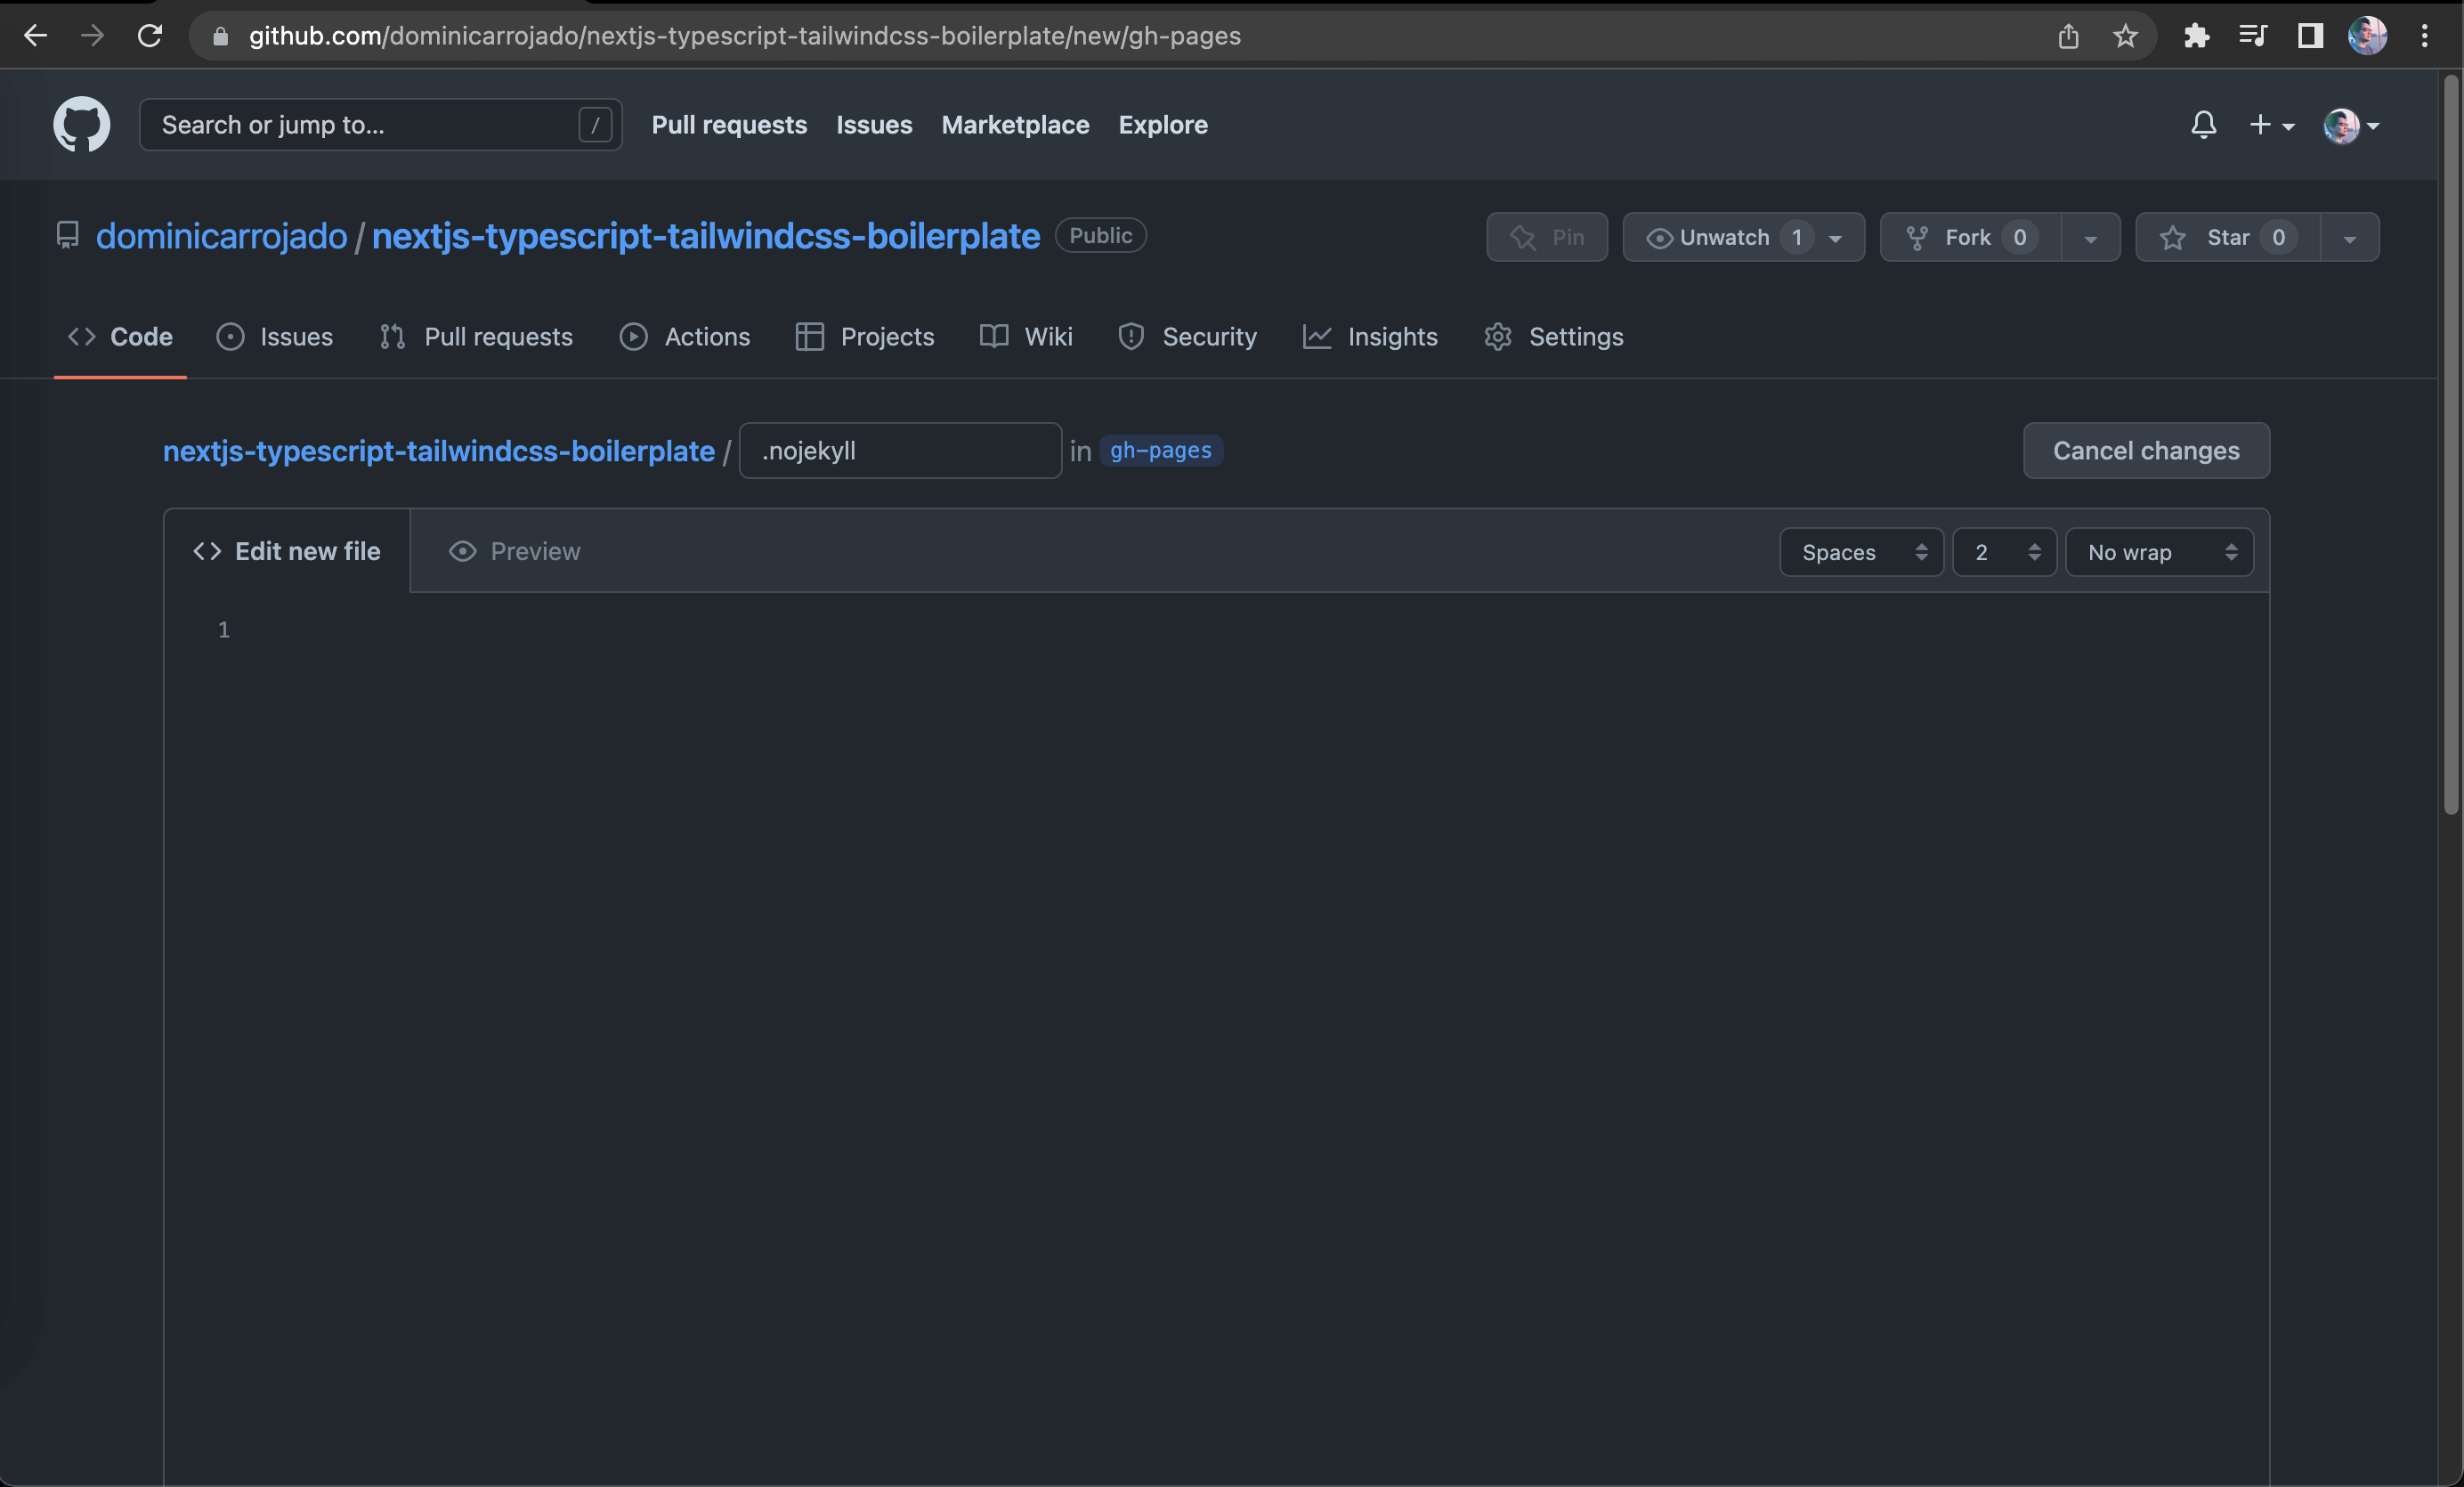
And add a custom commit message then press the "Commit new file" button:
Once committed, it will take a few minutes to build the website again. Do remember to do a hard refresh to clear the cache. You should now see the website looking good as expected:
Add caching for faster deployment
What we need to do next is to cache dependencies and build outputs to improve workflow execution time. That means faster deployment! We'll be using another action from the GitHub Actions Marketplace which is actions/cache@v3. With the combination of Node - Yarn cache and Next.js build cache, open and update .github/workflows/ci.yml with the following:
...

jobs:
  build:
    ...

    steps:
      ...

      - name: Set up Node.js ${{ matrix.node-version }}
        uses: actions/setup-node@v3
        with:
          node-version: ${{ matrix.node-version }}

      - name: Get cache directory path
        id: nestjs-cache-dir-path
        run: echo "::set-output name=dir::$(yarn cache dir)"

      - name: Cache dependencies and build outputs
        uses: actions/cache@v3
        id: nestjs-cache
        with:
          path: |
            ${{ steps.nestjs-cache-dir-path.outputs.dir }}
            ${{ github.workspace }}/.next/cache
          key: ${{ runner.os }}-nextjs-${{ hashFiles('**/yarn.lock') }}-${{ hashFiles('**.[jt]s', '**.[jt]sx') }}
          restore-keys: |
            ${{ runner.os }}-nextjs-${{ hashFiles('**/yarn.lock') }}-

      - name: Install dependencies
        run: yarn install --frozen-lockfile

      ...
Commit the changes and push it remotely. The result of the GitHub Actions workflow will still be successful and our application will be deployed to GitHub Pages accordingly. The next few workflow executions should relatively be faster than the previous one due to the caching step we added.
Now our CI/CD workflow is complete.
Set up GitHub Actions Pull Request workflow
Next thing we want is to have a workflow that automatically runs when a pull request is created from the repository. This will become our first line of defense before we approve the code and merge it to the main branch.
We can duplicate the changes we've made in ci.yml in another file .github/workflows/pr.yml. We only have to make minor changes to it. First, of course is to update the name to PR. Then, on the on syntax, we want to use pull_request instead of push. Lastly, we want to remove both permissions syntax and Deploy step from the steps because the changes in a Pull Request are not meant to be deployed to production until it is approved and merged to the main branch. The final code for .github/workflows/pr.yml should look like this:
name: PR

on:
  pull_request:
    branches: [main]

jobs:
  build:
    runs-on: ubuntu-latest

    strategy:
      matrix:
        node-version: [16.x]

    steps:
      - name: Checkout repository
        uses: actions/checkout@v3

      - name: Set up Node.js ${{ matrix.node-version }}
        uses: actions/setup-node@v3
        with:
          node-version: ${{ matrix.node-version }}

      - name: Get cache directory path
        id: nestjs-cache-dir-path
        run: echo "::set-output name=dir::$(yarn cache dir)"

      - name: Cache dependencies and build outputs
        uses: actions/cache@v3
        id: nestjs-cache
        with:
          path: |
            ${{ steps.nestjs-cache-dir-path.outputs.dir }}
            ${{ github.workspace }}/.next/cache
          key: ${{ runner.os }}-nextjs-${{ hashFiles('**/yarn.lock') }}-${{ hashFiles('**.[jt]s', '**.[jt]sx') }}
          restore-keys: |
            ${{ runner.os }}-nextjs-${{ hashFiles('**/yarn.lock') }}-

      - name: Install dependencies
        run: yarn install --frozen-lockfile

      - name: ESLint check
        run: yarn lint

      - name: Run the tests
        run: yarn test

      - name: Upload coverage to Codecov
        uses: codecov/codecov-action@v3

      - name: Build
        run: yarn build

      - name: Generate static files
        run: yarn export
Set up GitHub Actions Code Scanning workflow
Okay, we're almost done with the workflows. The last workflow we want to create is for code scanning. Code scanning helps us prevent security issues in the code. Luckily for us, GitHub code scanning was made available in September 2020. It is a developer-first, GitHub-native approach to easily find security vulnerabilities before they reach production. Code scanning integrates with GitHub Actions.
To set up the code scanning workflow, simply create a file .github/workflows/cs.yml and add the following code:
name: 'Code Scanning'

on:
  push:
    branches: [main]
  pull_request:
    branches: [main]
    paths-ignore:
      - '**/*.md'
      - '**/*.txt'
  schedule:
    - cron: '30 1 * * 0'

jobs:
  CodeQL-Build:
    runs-on: ubuntu-latest

    permissions:
      security-events: write

    steps:
      - name: Checkout repository
        uses: actions/checkout@v3

      - name: Initialize CodeQL
        uses: github/codeql-action/init@v2
        with:
          languages: javascript

      - name: Autobuild
        uses: github/codeql-action/autobuild@v2

      - name: Perform CodeQL Analysis
        uses: github/codeql-action/analyze@v2
This is copied directly from their example with minor changes. This workflow will run on push, on pull_request and on a schedule basis (cron) every Sunday at 1:30 AM. Feel free to change it according to your preference.
Commit your changes and push it remotely to your repository.
Final words
We are officially done with the setup! So you can now go ahead and start coding your Next.js projects with TypeScript and Tailwind CSS using this boilerplate!
If you need the final code as a reference, here's the link to the repository.
Feel free to share this boilerplate with your friends and colleagues. I hope you learned a lot from this post. I might create a post on building an application using this boilerplate, so stay tuned. See you in the next post!